Quick Summary
Here are the key steps to transfer music from iCloud Drive to iTunes on an iPhone:
- Open the iCloud Drive app on your iPhone and navigate to the folder containing the music you want to transfer.
- Tap the Select button in the top right corner and select the songs you want to transfer.
- Tap the Share icon at the bottom and select “Copy to iTunes.”
- Open the iTunes app on your iPhone and tap Music.
- Tap Edit > Paste to add the copied songs into your iTunes library.
- Sync your iPhone with iTunes on your computer to transfer the music over.
With iCloud Drive, you can access files and documents stored in iCloud across all your Apple devices. This includes music files added to iCloud Drive from apps like GarageBand. If you have music stored in iCloud Drive that you want to add to your iTunes library on your iPhone, you can easily transfer those files over.
The process involves a few simple steps – selecting the songs in iCloud Drive, copying them over to iTunes on your iPhone, and then syncing your device with your computer to get the music into the iTunes library. In this guide, we’ll walk through the complete process step-by-step.
Prerequisites
Before you can transfer music from iCloud Drive to iTunes on your iPhone, there are a few requirements:
- You need to be running iOS 13 or later on your iPhone.
- You need to have iCloud Drive enabled and set up on your device.
- You need to have songs stored in iCloud Drive, such as from GarageBand.
- You need to have the latest version of iTunes installed on your computer and iPhone.
- Your iPhone needs to be syncing with the same iTunes library as your computer.
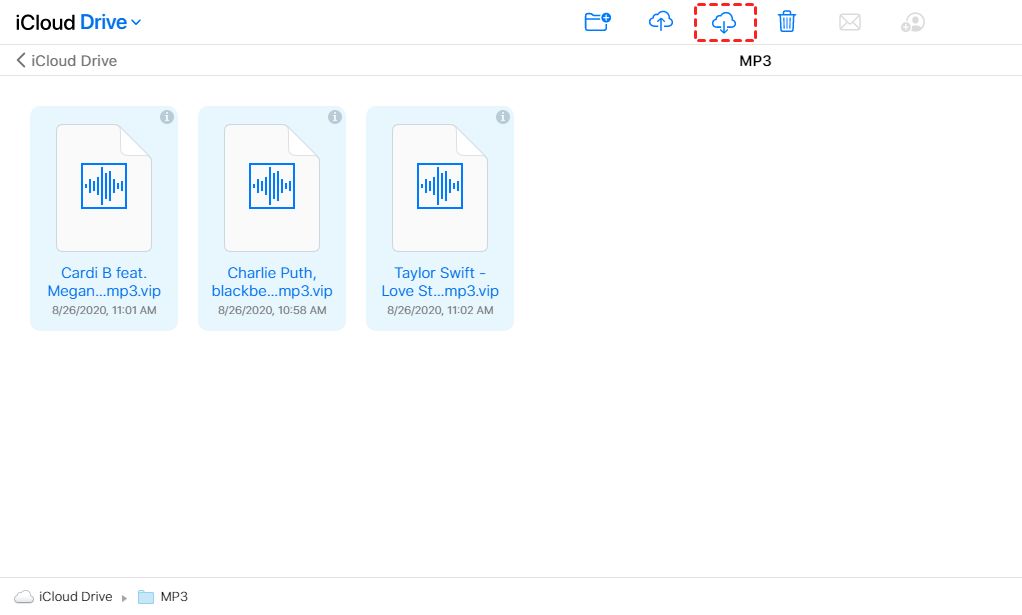
Locate Music in iCloud Drive
The first step is to open up iCloud Drive on your iPhone and navigate to the folder containing the music you want to transfer. To access iCloud Drive:
- Open the Files app on your iPhone.
- Tap Browse at the bottom.
- Tap iCloud Drive.
This will display all the content you have stored in iCloud Drive. Browse to the folder where your music files are located. Often, GarageBand files exported to iCloud Drive are stored in a GarageBand folder.
Tips for Finding Music in iCloud Drive
- Use the search bar at the top to search for “GarageBand” or song names.
- Check the Audio and Music folders.
- Sort files by date added if you know when you added the files.
- Enable Show All to see hidden folders that may contain your music.
Select Songs to Transfer
Once you’ve located the music files in iCloud Drive that you want to transfer, the next step is to select them:
- Tap Select in the top right corner of the Files app.
- Tap each song you want to transfer so they are checked off.
- You can also tap Select All if you want to transfer all the songs in that folder.
This will prepare the songs to be copied over to iTunes in the next step.
Tips for Selecting Songs
- Review song titles carefully so you don’t miss any you want to transfer.
- Tap a song to play it and verify it’s one you want before selecting it.
- Remember you can select multiple songs at once by tapping Select All.
Copy Songs to iTunes
With the songs selected in iCloud Drive, it’s time to copy them over to iTunes on your iPhone. This adds them to your iTunes music library for syncing later.
- Tap the Share icon at the bottom of the Files app.
- Select Copy to iTunes.
This will copy the selected songs directly into iTunes on your iPhone so they are ready to sync.
Tips for Copying to iTunes
- Make sure you have enough free storage on your iPhone for the music files.
- Check that you have an active internet connection for the transfer.
- The copy process may take a few minutes depending on the number and size of songs.
Paste Songs into iTunes
With the music copied from iCloud Drive, you now need to paste them into your iTunes library on your iPhone:
- Open the iTunes app on your iPhone.
- Tap on Music at the bottom.
- Tap Edit in the top right corner.
- Tap Paste to add the copied songs into your library.
The copied songs from iCloud Drive will now show up in your iTunes music library on your iPhone.
Tips for Pasting into iTunes
- Make sure to tap Paste after tapping Edit or the songs won’t transfer.
- You can view All Songs to see your full library including the pasted tracks.
- Rename or organize the song files after pasting if needed.
Sync iPhone with iTunes
Now that the music is copied over in the iPhone iTunes app, the last step is to sync your iPhone with iTunes on your computer. This will transfer the music files into your main iTunes library.
- Connect your iPhone to your computer using the USB cable.
- Open iTunes on your computer.
- Select your iPhone under Devices.
- Check Sync Music and select Entire music library.
- Click Sync.
Allow the sync to complete. The music copied from iCloud Drive will now be transferred to your iTunes library on your computer.
Tips for Syncing your iPhone
- Make sure to sync with the same iTunes library that your iPhone is already set up with.
- Wi-Fi sync can be enabled in iTunes to sync without cables.
- Music synced from the iPhone will be copied, not moved from the device.
- You can revert to your previous iTunes library if needed.
Access Transferred Music in iTunes
Once the sync is complete, you can access the music transferred from iCloud Drive directly within your iTunes library:
- Open iTunes on your computer.
- Click on Music or Songs in the sidebar.
- The transferred tracks will appear in your full music library.
- Double-click a song to play it and confirm it transferred correctly.
- Edit tag data or organize the music files within your library as needed.
The songs are now fully transferred from iCloud Drive to your primary iTunes library on your computer and you can enjoy them on all your devices synced with that library.
Tips for Accessing Transferred Music
- Use the Search bar in iTunes to quickly find tracks transferred from iCloud Drive.
- Create a new Playlist in iTunes and add the transferred songs to it.
- Check the Date Added column to see recently transferred music.
- Use Columns in the View menu to see additional data like Bitrate.
Summary
In summary, transferring music from iCloud Drive to iTunes on your iPhone involves:
- Finding song files in iCloud Drive on your iPhone.
- Selecting tracks and copying them to the iTunes app.
- Pasting copied songs into your iPhone iTunes library.
- Syncing your iPhone with iTunes on your computer.
- Accessing the transferred music within your iTunes library.
Following these steps allows you to seamlessly move music from iCloud Drive, such as GarageBand creations, into your main iTunes music collection. You can then enjoy the tracks on any device using the same iTunes library.
Troubleshooting Transfer Issues
In some cases, you may encounter issues when trying to transfer music from iCloud Drive to iTunes on your iPhone. Here are some common problems and solutions:
Songs won’t copy from iCloud Drive
- Check that you have an internet connection on your iPhone.
- Restart your iPhone and try the copy again.
- Make sure you have enough free storage for the music files.
- Verify the songs aren’t already in your iPhone iTunes library.
Songs won’t paste into the iTunes app
- Open iTunes on your iPhone and make sure you tap Edit > Paste.
- Restart the iTunes app and try pasting again.
- Check that you copied the songs first before attempting to paste.
Transferred songs aren’t appearing in iTunes library
- Check that you synced your iPhone with the correct computer/iTunes library.
- In iTunes on your computer, choose Music in the sidebar to view all songs.
- Try changing views or sorting songs by Date Added.
- Resync your iPhone with your computer again.
Songs transferred partially or seem corrupted
- Songs may transfer partially if there are connectivity issues.
- Delete the partial songs from iTunes and your iPhone and try again.
- Check for corruption issues by playing songs before transferring.
- Enable error checking in iTunes advanced preferences.
Conclusion
Being able to transfer music from iCloud Drive to iTunes provides a great way to move music creations from apps like GarageBand into your permanent iTunes collection. Once in iTunes, you can enjoy the tracks on all your devices and make sure they are properly backed up.
Following this guide, you should now understand how to find music in iCloud Drive, select songs to transfer, copy them into the iPhone iTunes app, sync with your computer, and access the transferred music. Just remember to check for any issues with connectivity, storage, or syncing if the transfer process isn’t working correctly.
With these simple steps for transferring music, you can rely on iCloud Drive as a place to create music, while still maintaining your main library in iTunes.
