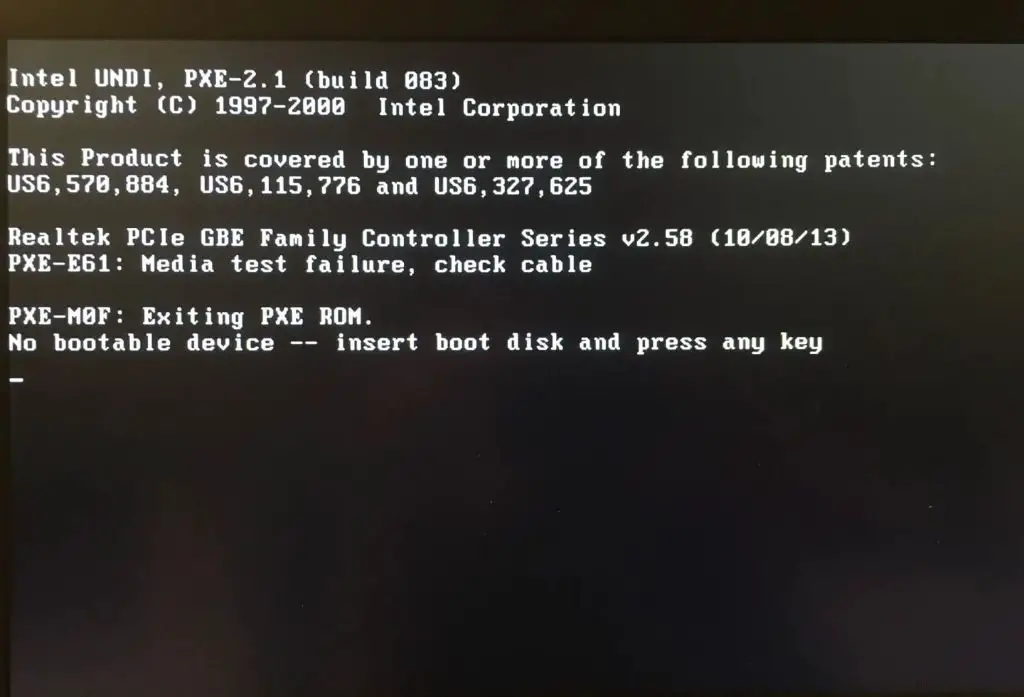
When starting up a computer, it goes through a boot process where it loads the operating system from a bootable storage device like a hard drive or USB drive. To do this, the BIOS checks the boot order to determine which device to boot from first. If no bootable devices are detected, you will get an error message saying “bootable device not found” or “no bootable devices detected.”
This error prevents the computer from loading the operating system and accessing the hard drive. It is important to fix this issue so you can properly start up and use your computer again. Some common troubleshooting steps include checking hardware connections, updating BIOS and firmware, trying alternate boot devices, repairing the hard drive, and reinstalling the operating system.
This guide will outline the main causes of the “no bootable device detected” error and walk through various solutions to help you get your computer booting properly again.
Verify Boot Order in BIOS
The first step is to check the boot order configured in your PC’s BIOS settings. The BIOS controls the boot order and determines which devices the computer checks for a bootable operating system during the startup process. To access the BIOS settings:
- Restart your computer and press the key to enter the BIOS, often Delete, F1, F2, F10 or F12 depending on the system.
- Navigate to the “Boot” tab or menu using the arrow keys.
- Check that bootable devices like the hard drive, SSD, or USB drive are enabled and prioritized first in the list.
- Make sure the CD/DVD drive is disabled or low priority if you are booting from USB or hard drive.
- Save changes and exit the BIOS.
If the boot order is incorrect, the system may fail to detect the boot device. Reordering the list so the intended boot device has priority can resolve detection issues. Refer to the computer or motherboard manual for exact steps if needed.
Sources:
HP PCs – Configuring the boot order in the system BIOS
Check Connections and Cables
One of the most common causes of the “boot device not found” error is a loose or faulty cable connecting the hard drive or SSD to the motherboard. Carefully check that the SATA data and power cables are properly seated at both ends – on the drive itself and on the motherboard. Wiggling cables around while powered on may help detect a faulty connection. Pay particular attention to the SATA port the operating system drive is connected to.
If you have multiple hard drives or SSDs installed, check the cables for all drives, not just the boot drive. Also inspect connections for any external USB hard drives or flash drives you may be attempting to boot from. Loose cable connections are often the culprit if an external drive is not being detected at boot.
Inspect the SATA data and power cables for any obvious damage or bent pins. Faulty or worn out SATA cables can cause intermittent connection issues. Try swapping in a known good data cable if you suspect the cable may be defective. Using a high quality SATA cable can help avoid potential issues.
If securing connections or replacing cables does not resolve the problem, the drive itself, motherboard SATA ports, or power supply may be experiencing issues. But a loose or damaged SATA cable is one of the easiest possibilities to rule out when troubleshooting the “no boot device” error.
Test Hardware Components
To identify potential faulty hardware that could be preventing your computer from detecting the bootable device, it’s a good idea to run hardware diagnostics. Many computer manufacturers provide built-in tools for testing components like the RAM, hard drive, and motherboard to pinpoint hardware failures.
For example, Dell PCs come with a Preboot System Assessment that you can launch by tapping the F12 key on startup to access boot options. This will initiate a hardware test that checks memory, hard drives, battery, and other components (Source).
HP also offers a UEFI-based hardware diagnostic tool called HP PC Hardware Diagnostics. You can access it on startup by tapping the Esc or F2 key. It will perform tests on the memory, hard drive, processor, graphics, and more to detect faults (Source).
Running these manufacturer hardware diagnostics can help pinpoint any defective parts preventing normal system boot. If any components fail the tests, they likely need to be repaired or replaced before your computer will successfully detect the bootable device again.
Update BIOS, Drivers, Firmware
Updating the BIOS, drivers and firmware to the latest versions can often resolve boot issues after changes like a BIOS update. Keeping these system components up-to-date provides compatibility fixes, performance enhancements and security improvements that help ensure proper functioning and bootability.
When updating the BIOS specifically, it is crucial to follow proper precautions to avoid rendering the system unbootable. Always make sure the computer meets the minimum requirements for the BIOS version and that the update file is for the exact make and model. Save all unsaved work and close other programs before beginning. Have the charger connected in case of power loss. Use the update method recommended by the manufacturer, such as a bootable USB drive. Avoid interrupting the update once it has started. After completion, load BIOS defaults before changing other settings.Sometimes boot problems after driver update
Updating drivers and firmware carries less risk but similar precautions should still be taken. Install one update at a time and restart when prompted to ensure stability. Overall, keeping BIOS, drivers and firmware up to date can prevent a wide range of technical issues.
Repair or Replace Faulty Hardware
If you’ve tried other troubleshooting steps without success, it may be time to consider repairing or replacing any faulty hardware components. A “no bootable device” error often stems from issues with storage devices like the hard drive or SSD. You can try reseating cables and connections, but the drive itself may be failing.
First, run hardware diagnostics to pinpoint the problem component. Dell and other manufacturers provide pre-boot diagnostics accessed by pressing a function key on startup, like F12. If the tests detect errors on a drive or motherboard, it likely needs replacing. However, you may be able to repair a drive by reinstalling the OS after backing up data. If the drive is unresponsive or completely dead, replacement is necessary.
For replacing a hard drive or SSD, be sure to get a compatible replacement part. Match the physical size, interface type, and storage capacity. Replacing a laptop motherboard is more complex but often needed for a dead system. Weigh the repair costs versus buying a refurbished replacement laptop.
If parts are still under warranty, contact the manufacturer about a replacement. Otherwise, you can find replacement parts online from retailers like Newegg. Consider getting help from a local repair shop for major component replacements. Repairing or replacing hardware can resolve the “no bootable device” problem if a component has failed.
Sources:
https://www.dell.com/support/contents/en-us/article/product-support/self-support-knowledgebase/fix-common-issues/no-boot
Try Alternate Boot Devices
If the computer’s hard drive is not being detected properly, you can try booting from an external device like a USB flash drive or optical disc. This allows you to bypass the built-in hard drive and boot from a different device. Here are the steps for booting from alternate devices:
To boot from a USB drive:
- Insert the USB flash drive into an open USB port on your computer.
- Restart your computer and enter the BIOS setup utility.
- Navigate to the boot order options and select the USB drive as the first boot device.
- Save changes and exit BIOS.
- The computer should now boot from the USB drive.
To create a bootable USB drive, you will need to use a utility like Rufus on Windows or Startup Disk Creator on Mac to write the OS image onto the flash drive.
To boot from a DVD/CD:
- Insert the disc containing your operating system into the optical drive.
- Access the BIOS and choose the optical drive as the first boot option.
- Save changes and reboot. The computer should now boot from the disc.
Make sure the disc is burned as a bootable image using a disc burning software before attempting to boot from it. This allows the computer to load the OS from the disc.
Booting from external devices allows you to troubleshoot boot issues when the primary hard drive is not detected properly on startup. Just make sure the external device is setup as bootable first.
Perform a Clean Install
Doing a clean operating system install is an effective way to rule out any software issues causing the bootable device detection error. This involves wiping the hard drive and reinstalling the OS from scratch. Before proceeding with a clean install, be sure to back up any important data and files.
To prepare for the clean install, you will need a USB flash drive and the Windows installation media creation tool. Using the media creation tool, make a bootable Windows installation drive on the USB. Then boot into the flash drive and proceed through the installation steps, selecting “Custom Install” when prompted to delete all existing partitions and do a fresh install. See this tutorial for illustrated clean install steps: Windows 10 not bootable after fresh install.
After completing the clean OS install, check if the bootable device detection issue has been resolved. Often a clean install fixes software-related boot problems, though hardware faults will still cause errors. If the clean install succeeds but issues persist on booting the fresh OS, then the problem is likely due to a hardware failure.
Reset BIOS to Default Settings
Resetting the BIOS to default settings can often resolve boot issues by clearing any incorrect or corrupted settings that may be preventing detection of the boot device. The BIOS settings are stored on the CMOS chip. Resetting this chip essentially restores the BIOS to its factory default state.
There are a few methods to safely clear the CMOS:
– Locate the clear CMOS jumper on the motherboard, remove the jumper cap, and short the pins for 5-10 seconds with a screwdriver before replacing the jumper cap. This will reset BIOS settings to default. Source
– Open up the PC case and remove the CMOS battery from the motherboard for at least 60 seconds before reinserting it. This will cause the CMOS to reset when power is removed. Source
After clearing the CMOS, the system should be able to POST and detect the boot device again, allowing you to access BIOS setup and reconfigure any settings. If issues persist, resetting BIOS eliminates any corrupted settings as a potential cause.
Conclusion
In summary, the main steps for troubleshooting the “bootable device not detected” error are to check the boot order in BIOS, verify all connections and cables, test hardware components like storage devices, update drivers and firmware, repair or replace any faulty hardware, and try alternate boot devices. Resetting the BIOS to default settings or performing a clean OS install may also resolve the issue.
Before making major changes, it is wise to backup critical data in case more intensive troubleshooting like an OS reinstall becomes necessary. Thoroughly backing up files provides a safety net when experimenting with fixes.
For further assistance, Intel communities like this one can provide input from other users’ experiences. Technical support forums like Reddit or manufacturer websites are other great places to find solutions.
