Installing macOS on a new hard drive can seem daunting, but it’s actually a straightforward process if you have the right tools. In this guide, we’ll walk through the complete process of installing macOS on a fresh hard drive using a bootable USB installer drive. We’ll cover creating the installer USB, installing macOS, and getting your Mac up and running on the new drive.
Requirements
Here’s what you’ll need to complete this process:
- A Mac that is compatible with the version of macOS you want to install
- An external USB hard drive or SSD to install macOS on
- A USB flash drive with at least 12GB of available storage
- The macOS installer application from the App Store
- Time and patience!
Step 1: Create a Bootable USB Installer Drive
The first step is to create a bootable USB installer drive for macOS. This drive will be used to install macOS on the new hard drive. Here’s how to create it:
- Insert your USB flash drive into your Mac.
- Launch the App Store and download the macOS installer application.
- Once the installer finishes downloading, launch it.
- Follow the onscreen prompts until you reach the installer screen with the “Continue” button.
- Quit the installer by going to the Finder menu and clicking “Quit”.
- Now launch Disk Utility, which is located in Applications > Utilities.
- Select your USB flash drive in the sidebar.
- Click the “Erase” button. This will erase all data on the drive.
- Give the drive a name like “macOS Installer”.
- Set the format to “Mac OS Extended (Journaled)”.
- Click “Erase” to erase the drive.
- Once erased, select your USB drive and click “Restore”.
- Navigate to your downloaded macOS installer and select it.
- Click “Open” to restore the installer to your flash drive.
After it finishes, you’ll have a bootable USB installer drive for macOS ready for installing on your new drive!
Step 2: Install the New Hard Drive
Before you can install macOS on your new drive, you’ll need to physically install it into your Mac. The installation steps vary depending on your Mac model. Consult Apple’s support documentation for detailed instructions on installing a hard drive in your specific Mac.
Here are some general steps to follow when installing a new hard drive:
- Shut down your Mac and disconnect power.
- Refer to your Mac’s manual to open the case and locate the hard drive bay.
- Remove any existing hard drive and install the new drive in its place.
- Securely connect the SATA cable and power cable to the new drive.
- Reassemble your Mac and connect power.
The new drive should now be recognized, though it will be blank and unformatted.
Step 3: Boot to the USB Installer
With your new drive installed and USB installer drive ready, it’s time to boot your Mac to the USB drive so you can install macOS.
- Make sure both the USB installer drive and new internal drive are connected.
- Turn on your Mac and immediately press and hold the Option key after you hear the startup chime.
- Release the Option key when you see the boot picker screen.
- Select the USB installer drive from the list of bootable drives.
- Click the up arrow below the drive name.
Your Mac will now boot from the USB installer drive so you can install macOS on your new hard drive.
Step 4: Launch Disk Utility
Once booted to the USB installer, the first thing you’ll want to do is open Disk Utility. Disk Utility allows you to erase, format and partition your new hard drive so it’s prepared for the macOS installation.
- Go to the Finder menu and select “Disk Utility”.
- Click “Continue” if any warning message appears.
- Select your new hard drive from the sidebar.
- Click the “Erase” button.
- Enter a name for the new drive like “macOS SSD”.
- Set the format to “APFS”.
- Click “Erase” to format the new drive.
Your new drive is now formatted and ready for macOS installation.
Step 5: Install macOS
With your drive formatted, it’s finally time to install macOS. This process will install a fresh copy of macOS on your new drive.
- Quit Disk Utility.
- From the macOS Utilities window, select “Install macOS”.
- Continue through the installation assistant screens.
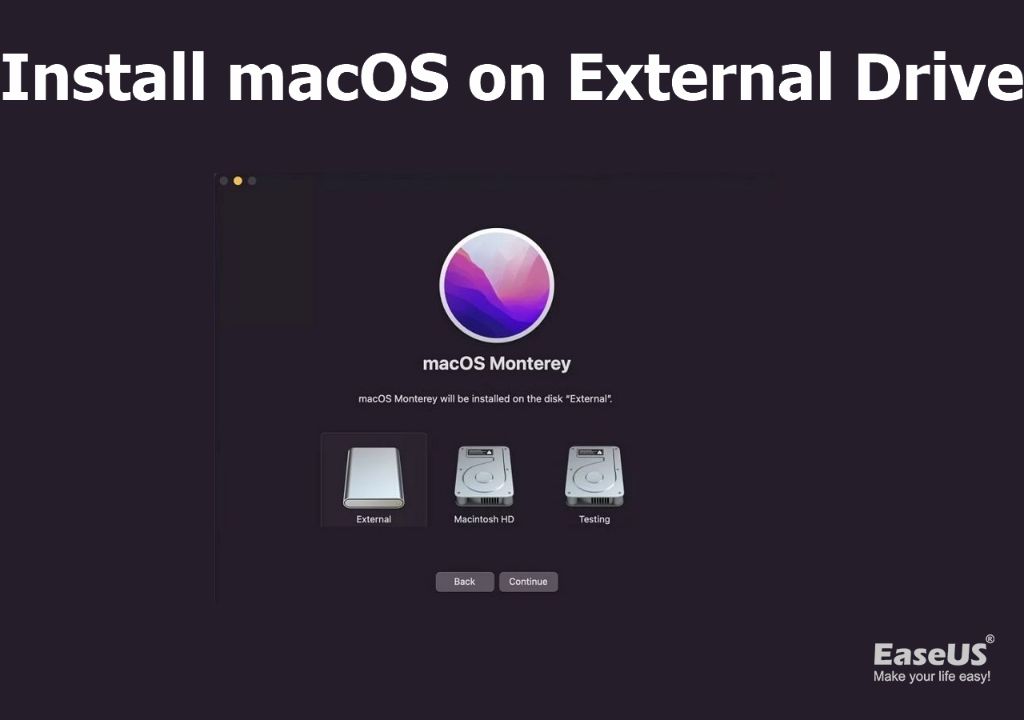
- When asked, select your new drive as the destination.
- Allow installation to complete. This may take a while.
After the installation finishes, your Mac will reboot to the Setup Assistant on your new macOS drive. You’ll be walked through setting up your Mac.
Step 6: Complete Setup Assistant
When your Mac first boots to your new macOS drive, you’ll be greeted by the Setup Assistant. Follow the on-screen steps to complete configuring your Mac.
Here are some of the steps you’ll be walked through:
- Select your country/region.
- Configure network settings.
- Create a computer account.
- Configure Siri.
- Enable key features like FileVault and iCloud.
- Complete Touch ID setup if supported.
Take your time and read carefully as you walk through the various Setup Assistant steps. Once complete, you’ll be dropped into a fresh desktop ready to be used!
Step 7: Install Apps and Migrate Data
Now that you have macOS installed and running, you’ll likely want to install apps and transfer over your data.
Here are some tips for post-installation tasks:
- Use the App Store to download and install apps you need.
- Transfer data from Time Machine or another drive using Migration Assistant.
- Manually move files from your old drive using the Finder.
- Log into iCloud to sync data like contacts, calendars and photos.
- Sign into apps like Mail, Messages and Safari to restore account data.
- Configure system preferences to your liking.
Take time to get your new Mac fully configured and migrated. With your data moved over, you’ll be up and running on your fresh macOS install.
Alternative Install Methods
While the bootable USB install drive is the recommended method for most people to install macOS on a new hard drive, there are a couple of other options:
Internet Recovery
Macs introduced in 2012 or later have the ability to reinstall macOS directly over the internet. To enter internet recovery mode:
- Boot to macOS Recovery by holding Command + R at startup.
- Connect to WiFi if prompted.
- Select “Reinstall macOS” from the utilities window.
- Follow the onscreen prompts to reinstall over the internet.
Internet recovery is handy if you don’t have access to an installer drive, but will take much longer to download macOS before installing.
Network Recovery
Macs released before 2012 can use network recovery mode to reinstall macOS over a network connection.
To enter network recovery mode:
- Boot to macOS Recovery by holding Option + Command + R on startup.
- Use the onscreen menu to select network recovery.
- Follow the prompts to reinstall over a network connection.
Like internet recovery, network recovery allows reinstallation without a USB drive. But it will still take time to download the OS over a network before installing.
Troubleshooting Installation Issues
The macOS installation process doesn’t always go smoothly. Here are some common issues and how to fix them:
Stuck at Apple Logo Screen
If your Mac gets stuck on the Apple logo screen during the boot and installation process, try these fixes:
- Force reboot your Mac by holding the power button.
- Make sure your USB drive or network connection is working properly.
- Try resetting NVRAM by holding Command + Option + P + R on restart.
- Boot to recovery mode and reinstall macOS from there.
Installation Fails with an Error
If you receive a specific error while the installer is running, research the error number/code online to identify the problem. Some solutions may include:
- Wiping and reformatting your drive before reinstalling.
- Using a different USB port or cable for your installer drive.
- Updating the firmware on your Mac.
- Starting the install process over from the beginning.
macOS Won’t Boot After Install
If macOS won’t fully load after you complete the installation, try these tips:
- Boot to recovery mode to run diagnostics and check the drive.
- Wipe the drive fully and try installing macOS again.
- Replace SATA cables or try a different SATA port.
- Use boot arguments or safe mode to isolate issues.
Spending time to troubleshoot can help identify and resolve problems getting macOS up and running on your new drive.
Conclusion
Installing macOS on a new hard drive takes some preparation, but following the steps in this guide will get you up and running with a fresh macOS install. The key steps are:
- Create a bootable USB installer drive.
- Install the new hard drive into your Mac.
- Boot to the installer and format your drive.
- Install macOS on the new drive.
- Complete the Setup Assistant.
- Install apps and migrate user data.
While the process takes some time and effort, you’ll ultimately end up with a clean working macOS drive. This guide covers the most reliable path for a hassle-free installation.
With the right preparation and tools, installing macOS on a new hard drive doesn’t have to be difficult. Follow each step carefully and you’ll have your Mac booted to a fresh OS install in no time.
