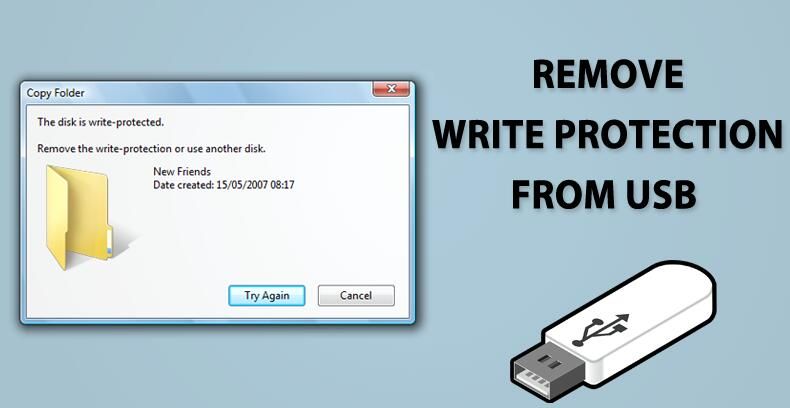
USB flash drives have become an indispensable tool for transferring and storing data. Their portability and ease of use make them a convenient way to carry files, documents, photos, videos, and other digital content. However, USB drives also have a feature called “write protection” that is sometimes enabled to prevent files from being deleted or overwritten.
Write protection locks the drive and prevents any changes from being written to it. This can be useful if you want to protect important files from accidental deletion. But it becomes a nuisance if you want to add, edit, or erase data on the drive. Fortunately, there are a few easy ways to remove write protection from a USB drive.
What Causes Write Protection on a USB Drive?
There are a couple reasons a USB drive may be write-protected:
- The drive has a physical lock switch. Many USB drives have a small slider on the housing that can toggle write protection on and off. Sliding it one way will lock the drive; sliding it the other will unlock it.
- The drive is configured as read-only in software. Some USB drives come with software that lets you configure write protection. There may be a setting in this software to make the drive read-only.
- The drive is partitioned as read-only. The drive’s partition table may be configured to make the partition read-only. This prevents any writes to the drive.
So before removing write protection, you need to figure out what’s causing it. Look for a physical lock switch on the drive housing. Try the drive with another computer or operating system to see if the protection is implemented in software. And inspect the partition table to see if that’s formatted as read-only.
How to Remove Write Protection Using Diskpart
If your USB drive doesn’t have a physical lock switch, the write protection is likely implemented in software. On Windows, you can use the diskpart command line tool to remove this protection.
Here are the steps to use diskpart to remove write protection from a USB drive on Windows:
- Connect the write-protected USB drive to your computer.
- Open the Command Prompt as Administrator.
- Type
diskpartand press Enter. - Type
list diskand press Enter. This shows the disks connected to your PC. - Identify the disk number for your USB drive from the list.
- Type
select disk x, replacing x with your disk number, and press Enter. - Type
attributes disk clear readonlyand press Enter. This removes the read-only attribute. - Type
exitand press Enter to close diskpart.
This will remove the read-only status from the USB drive’s partition table. You should now be able to add, edit and delete files on the drive.
Using Registry Editor to Remove Write Protection
You may also be able to remove software write protection on a USB drive by editing the Windows registry. This involves changing a registry value that controls read-only access.
Here is how to remove write protection from a USB drive using the registry editor:
- Connect the write-protected USB drive to your PC.
- Open the Start menu and type “regedit”. Open the Registry Editor.
- Navigate to
HKEY_LOCAL_MACHINE\SYSTEM\CurrentControlSet\Control\StorageDevicePolicies - Look for a key named after your USB drive. It will likely be named Something like
USBSTOR#Disk&Ven_&Prod_#Rev#. - Double-click on the “WriteProtect” value in this key.
- In the Edit DWORD Value box, change the Value data field to 0.
- Click OK to change the value.
- Close the Registry Editor and safely eject the USB drive.
Changing the registry value for your drive to 0 should remove any software write protection configured for it. Again, you should now be able to write to the USB flash drive.
Using Disk Management to Remove Write Protection
You can also use the Disk Management utility in Windows to remove write protection from a USB drive.
Here is the procedure to make a write-protected drive writable again with Disk Management:
- Plug in the write-protected USB drive.
- Open the Start menu and search for “Create and format hard disk partitions”.
- Open the Disk Management desktop app.
- Right-click on your USB drive and select Properties.
- Uncheck the box next to “Read-only”.
- Click OK to save the changes.
This will change the attribute on your USB drive so that it is no longer read-only. At this point, you should be able to add, modify or delete files as normal.
Using Third-Party Software to Remove Write Protection
If the above methods don’t work, you may need third-party software to disable write protection on a USB drive.
Here are some good options:
- RMPrepUSB – Free software tailored for removing write protection from USB devices on Windows.
- USB Write Protection – Small portable app that can disable read-only status.
- Roadkil’s Disk Image – Utility with an option to remove USB write protection.
- HP USB Disk Storage Format Tool – Made by HP for formatting USB drives but can also remove write protection.
The steps will vary depending on the software used. But generally you would:
- Install and open the software.
- Connect the write-protected USB drive.
- Use the software to disable/remove write protection.
- Safely eject the drive and test writing to it.
The advantage of third-party software is that it overrides any built-in write protection at the disk level. So it should remove software locks regardless of where they are configured.
Removing Write Protection on a Mac
If you are using a USB drive with a Mac and need to remove write protection, the steps are a little different.
Here is how to make a write-protected USB drive writable again on macOS:
- Connect the USB drive to your Mac.
- Open Disk Utility (located in Applications > Utilities).
- Select your USB drive in the left pane.
- Click the Erase tab.
- Make sure the Format is set to MS-DOS (FAT).
- Click Erase to reformat the drive.
This will wipe and reformat the USB drive, overwriting any previous write protection.
You can also remove write protection with the terminal by running:
diskutil eraseDisk FAT32 NO_NAME MBRFormat /dev/diskX
Just replace NO_NAME with what you want to label the drive and diskX with your USB drive identifier.
Removing Physical Write Protection Switches
Some USB drives have a tiny plastic slider that acts as a physical write protection switch. If your drive has this slider, you can remove write protection simply by switching it to the unlocked position.
On most USB drives, sliding the switch one way will expose the lock icon and write protect the drive. Sliding it the other way hides the lock and removes write protection.
If the physical switch itself is broken or stuck, you may need to remove it to permanently disable write protection. This can be tricky but is possible.
You’ll need a small screwdriver to open the metal casing on the USB drive. Be very careful not to damage the internal components. Once open, locate the plastic slider switch and detach it from the metal contacts. Snap the casing back on and the drive should now be writeable.
Conclusion
Write protection is built into USB drives to prevent accidental file deletion or overwriting. But it becomes a hassle if you want to intentionally modify data on the drive.
On Windows, you can use diskpart, registry editor, or third party software to remove USB write protection. On Mac, reformatting with Disk Utility or the terminal disables protection.
If your drive has a physical lock switch, just slide it to the unlocked position. And you can remove the switch entirely if necessary. With the right technique, you can easily remove write protection and make your USB drive read-write again.
