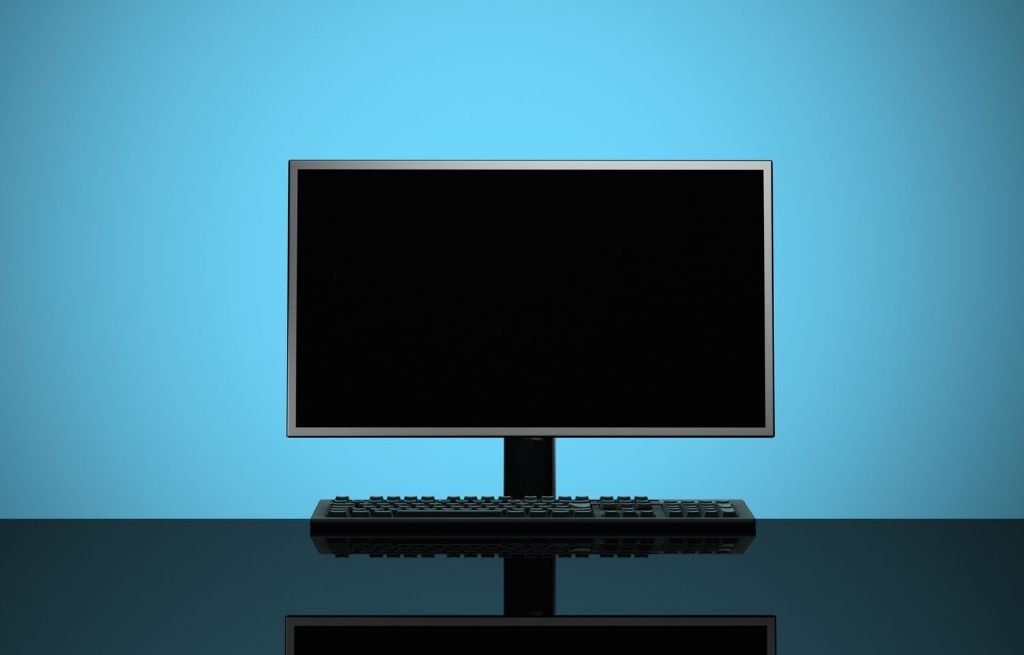
Having your PC turn on but not output any display to the monitor can be a frustrating issue. There are a number of potential causes for this problem that are worth investigating before concluding that your computer or monitor are completely non-functional.
Quick Overview of Potential Issues
Here is a quick overview of some of the most common potential issues that can cause a no display problem when your PC turns on:
- Monitor not powered on or connected properly
- Monitor input set incorrectly
- Graphics card not seated properly or faulty
- Damaged video cable
- Motherboard video output disabled
- Incorrect video drivers installed
- Faulty power supply
- RAM not installed properly
- BIOS settings incorrect
The good news is that many of these issues can be resolved fairly easily by double checking connections, changing BIOS settings, or reseating components like RAM. Other faults like a dead graphics card or monitor would require replacement of hardware to fix.
Step 1 – Check Monitor and Video Connections
The first step is verifying that the monitor itself is powered on and that all video cables are properly plugged in. Make sure the monitor power cable is inserted and that the monitor is switched on. Oftentimes the monitor will have an LED indicator that shows whether it is getting power and turned on.
Next, check that the video cable running from the back of the computer to the monitor is firmly connected at both ends. Most PCs will have a video output on the motherboard itself and possibly a secondary video output on the graphics card if one is installed. Make sure the cable is plugged into the proper port on the back of the PC case.
Modern monitors and PCs typically use HDMI or DisplayPort cables. If using an older VGA connection, inspect the cable ends for any bent pins or other damage. A faulty VGA cable can prevent video from being transmitted.
Trying a Different Video Cable
If reseating the video cable connections does not resolve the no display issue, try swapping out the video cable for a different one. This could isolate whether the problem is caused by a damaged cable rather than an issue with the PC or monitor themselves. Make sure the replacement cable is compatible with the ports on both devices.
Testing on a Different Monitor
Another troubleshooting step is connecting the PC with the no display issue to a different external monitor or TV. This helps determine if the problem stems from the original monitor rather than the computer. Make sure to power on the new display device and select the proper input source for the video connection used. If the PC video output works fine on the secondary monitor, the original display is likely faulty and in need of service.
Step 2 – Check Monitor Input Source Setting
Most monitors will have an external button or settings menu that allows selection of the video input source. Common options are HDMI 1, HDMI 2, DisplayPort, DVI, and VGA. Make sure the monitor input source selected matches the video connection being used with the PC.
For example, if the PC is connected to the monitor’s HDMI 1 port, the monitor needs to have HDMI 1 chosen as the active input source. Selecting the wrong input results in no video transmission to the display.
Consult your display device user manual if uncertain how to view or change monitor input settings. Settings menus are typically accessed using buttons on the front or back of the monitor.
Step 3 – Check Graphics Card Seating
If the PC has a dedicated graphics card installed in a PCI Express expansion slot, check that the graphics card is properly seated in the motherboard slot. Over time, computer components can become loose from factors like heat expansion and contraction or vibration.
Power off the computer and disconnect all cables before removing the PC case side panel to access the internal components. Locate the graphics card in the PCIe slot and press down firmly to ensure it is fully inserted in the slot. Also check that any power cables are firmly connected to the graphics card.
Replacing the PC case side panel and powering back on may resolve a no display issue caused by a loose graphics card.
Trying Onboard Video Output
As a test, try disconnecting the video cable from the graphics card and connecting it to the motherboard video output instead. This onboard video output will typically be VGA, DVI, or HDMI. Power on the PC and see if video displays properly through the motherboard video port. If the onboard video works fine, it points to an issue with the discrete graphics card as the likely cause.
Step 4 – Install Latest Graphics Drivers
Outdated or corrupt drivers for the graphics card can also result in blank screen issues. Make sure the latest graphics drivers are downloaded and installed for the GPU hardware inside your computer. Nvidia and AMD regularly release optimized graphics drivers that may resolve display problems caused by buggy older drivers.
First, identify the make and model of your graphics card in Windows Device Manager. Then visit the Nvidia or AMD website to download the newest graphics drivers for your card. Follow the installation steps carefully after downloading. A system reboot may be required to fully apply updated video drivers.
Step 5 – Test with a Working Power Supply
Lack of adequate, stable power can lead to graphics card and display faults. If available, try swapping in a known-good power supply unit to rule out voltage issues causing the no display problem.
Make sure to use a PSU with sufficient wattage for the PC components. When powered by a working PSU, if the computer now outputs video properly, the original power supply unit is likely defective and should be replaced.
Step 6 – Check RAM Seating and CMOS Reset
Reseating and verifying the system memory is also useful for troubleshooting a blank display. Power off and open the PC case to locate the RAM slots on the motherboard. Press down on each installed memory module to ensure they are fully inserted in the slot. Wiggling sticks while pressed in can help achieve a proper connection.
Faulty RAM or improperly seated memory modules may prevent the PC from booting far enough to send a video signal. You can try removing all but one stick of RAM to see if the system boots properly with each stick individually. Having a single known-good memory module installed may help isolate if bad RAM is causing display issues.
Resetting the CMOS can also resolve boot errors preventing video output. The CMOS battery on the motherboard should be removed for a few minutes to clear settings in the BIOS chipset. Your motherboard manual should indicate the location of the CMOS battery.
Step 7 – Connect Internal System Speaker
Troubleshooting a PC with no video can be aided by listening for beep codes from an internal system speaker. The motherboard header for connecting a small speaker is typically located near the front panel header pins.
Attach a 4-pin system speaker and power on the computer. If the CPU and RAM initialize successfully, but no video signal is sent, you may hear a single long beep or a series of short beeps from the internal speaker.
Consult your motherboard manual or online BIOS code listings to decipher what the beep codes mean. Different sequences help indicate where the fault occurs, guiding further troubleshooting steps.
Step 8 – Test with Minimal Hardware
If the problem persists after trying the steps above, progressively remove or swap major system components to identify the faulty piece of hardware.
First, try removing all but one RAM module and see if the PC boots with video. Try alternating RAM sticks to test with only one installed at a time.
If the memory checks out, remove any add-in cards like wireless cards, sound cards, and capture cards. Non-essential PCIe devices can sometimes cause conflicts. Test the display output after removing these add-in cards.
The ultimate minimal hardware test is removing all hardware from the system except the CPU, one RAM stick, video card, and power supply. Connect power and video cables and check for display. If video still does not output properly with just core components connected, the CPU, RAM stick, video card, motherboard, or power supply may be defective and in need of replacement.
Step 9 – Test Hardware in Working System
To further isolate the cause, try transferring hardware components over to a secondary test PC that is known to boot properly. For example, move the graphics card, RAM sticks, and storage drives one at a time to another working PC and see if problems follow the hardware.
If the video card or RAM still causes blank display issues when installed in a working PC, you can confirm the hardware is faulty or incompatible and needs replacing. However, if the hardware tests fine in a secondary system, problems like BIOS misconfiguration or faulty motherboard components are more likely in play.
Step 10 – Update Motherboard BIOS
Outdated or buggy BIOS versions on the motherboard can also prevent successful video output. Go to the support page for your motherboard model on the manufacturer website and check for the latest BIOS update files.
Follow instructions to flash the BIOS, applying the updated firmware to the chipset. This may resolve display issues caused by BIOS bugs or incompatibility. However, exercise caution when updating BIOS firmware and do not power off the PC during the process to avoid corrupting the system.
Conclusion
Troubleshooting a PC that powers on but shows no display can be frustrating but methodically verifying connections and components will usually uncover the underlying problem. Typical causes include loose cables, incorrect monitor input settings, faulty hardware, corrupt drivers, or BIOS issues.
Check that the monitor works on a separate system and is plugged into the correct port. Try reseating the graphics card, CMOS reset, installing latest drivers, testing components in a working PC, and updating the BIOS firmware. Isolating the issue through substitution and minimal hardware tests will ultimately identify any dead components needing replacement.
With persistence and by following a logical diagnostic approach, you can get to the bottom of a no display problem when powering on a PC and restore proper video output.
