A hard drive is a key component of any computer system, providing permanent storage for the operating system, programs, and data. But where exactly does the hard drive get plugged into the computer? This is an important question for anyone building or upgrading their own PC. In this comprehensive guide, we will examine the various connections and interfaces used by hard drives to help you understand where to plug in this vital storage device.
Quick Overview: Common Hard Drive Connections
Most modern hard drives use one of two main connections:
– SATA – Connects to a SATA port on the motherboard using a SATA cable. This is the most common hard drive interface used in desktop PCs and some laptops.
– M.2 – Connects directly to the motherboard in an M.2 slot, using a form factor similar to RAM sticks. Common in new high-end desktops and laptops.
Some older hard drives may also use IDE or SCSI connections, but SATA and M.2 are the most prevalent interfaces today. The exact connector will depend on the type of hard drive and computer system.
SATA Hard Drive Connections
SATA, or Serial ATA, has been the standard hard drive interface for over 15 years. SATA connectors use a thin, 7-pin cable to connect the hard drive to a SATA port on a computer’s motherboard.
SATA Data Connector
The SATA data cable carries information between the hard drive and system. One end plugs into the motherboard, while the other connects to the hard drive’s SATA data port, usually labeled SATA, SATAII, or SATA 3.0. Motherboards have multiple SATA ports, so you can connect several SATA hard drives.
SATA Power Connector
In addition to the SATA data cable, hard drives also need power. SATA hard drives use a 15-pin SATA power connector that draws power from the computer’s power supply unit (PSU). The hard drive will have a SATA power port, labeled PSU. Connect it to a SATA power cable from the PSU.
2.5-inch vs 3.5-inch SATA Drives
2.5-inch hard drives are designed for smaller devices like laptops. They only need the SATA data connector.
3.5-inch desktop hard drives require both SATA data and power connectors. Without the SATA power cable, a 3.5-inch drive will not function.
M.2 SSD Connections
M.2 is the newest hard drive connection, designed for small, high-speed solid state drives (SSDs). M.2 drives mount directly onto the motherboard without cables.
M.2 Slots
M.2 drives plug into an M.2 slot on the motherboard. These narrow slots are recognizable by the small nails or standoffs that hold the drive in place. Motherboards have between 1 and 3 M.2 slots.
Form Factors
There are several sizes of M.2 drives, known as form factors. The most common are 2280 and 2242 – the numbers represent the drive’s dimensions in mm. 2280 (22x80mm) fits up to 1TB and is the most prevalent; 2242 (22x42mm) is smaller with less storage.
Keying
M.2 slots and drives use different keying notches to indicate compatibility. Key M slots work with SATA or PCIe M.2 drives; Key E is for PCIe only. Make sure to match the slot’s keying with the M.2 drive’s key connector.
PCIe vs. SATA M.2
M.2 drives connect via either PCIe or SATA:
– PCIe M.2 SSDs are the fastest, using 4 PCIe lanes for up to 4GB/s. They work with either Key M or Key E slots.
– SATA M.2 SSDs utilize the older SATA 3 interface for up to 600MB/s. These only work in Key M slots.
Legacy Hard Drive Connections
Although rare today, some older or specialized systems may use legacy hard drive interfaces:
PATA/IDE/EIDE
Up until about 2005, PATA (Parallel ATA) was the standard hard drive interface. Also referred to as IDE or EIDE, PATA used a 40- or 80-wire flat ribbon cable to connect the hard drive to the motherboard’s IDE header. PATA has been obsolete for many years.
SCSI
SCSI (Small Computer System Interface) is an older standard used for enterprise hard drives. SCSI drives can be externally connected via a SCSI port, or internally connected to a PCI SCSI host adapter. SCSI is found on older servers but is no longer common.
SAS
SAS (Serial Attached SCSI) is the newer iteration of SCSI still used on enterprise servers. It uses connectors similar to SATA, allowing SAS drives to be integrated into consumer systems in some cases. But true SAS ports are rare on consumer motherboards.
Tips for Installing a Hard Drive
When installing a hard drive, keep these tips in mind:
– Refer to your computer or motherboard manual for available connections and installation instructions.
– Handle hard drives carefully and avoid static discharge. Always ground yourself first.
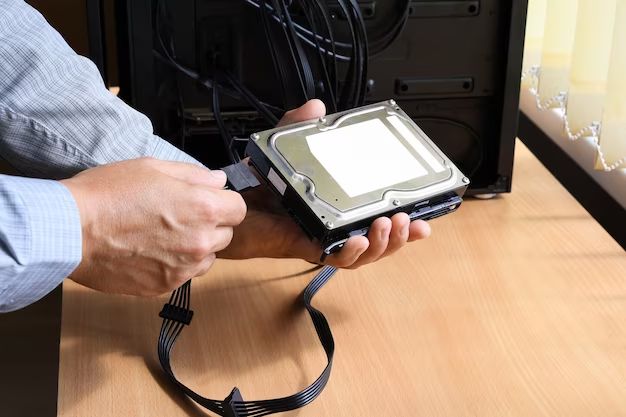
– When connecting SATA power and data cables, make sure the connectors are oriented correctly and pressed in firmly. The same applies to seating the M.2 drive in the slot. Loose connections can cause errors or drive failure.
– Attach any required mounting screws or brackets to secure the hard drive in the computer’s drive bays. Hard drives should not be loose or unsupported inside the case.
– After connecting the hard drive, check the BIOS/UEFI setup utility to verify the drive is detected correctly. You may need to enable hot-swap or AHCI mode.
– Before using the drive, be sure to partition and format it through your operating system’s disk utility.
Troubleshooting Hard Drive Connections
If your newly connected hard drive is not being detected, try the following troubleshooting steps:
– Re-seat the SATA and power cables, and/or the M.2 drive in its slot. Loose connections are a common cause of detection issues.
– Try a different SATA port and SATA cable if possible. Cables can go bad over time.
– Check that the SATA port supports your drive’s speed (SATA I, II, or III) and has the proper M.2 keying (Key M or E).
– Ensure your BIOS or UEFI firmware is up to date. Old firmware sometimes lacks proper support for new drives.
– Make sure the drive is getting sufficient power by connecting to a different SATA power connector if available.
– If the drive is old or improperly formatted, it may not be recognizable. Try low-level formatting the drive before troubleshooting further.
– Damaged hard drives that do not spin up or connect are typically non-repairable. Contact the manufacturer for potential warranty replacement.
Conclusion
Installing a hard drive is one of the fundamental steps when building or upgrading a computer. By matching the drive to the correct SATA, M.2, or legacy interface connection, you can successfully add vital storage capacity for your system. With the right cables plugged in snugly and the drive showing up in BIOS, you can be on your way to enjoying your new high-speed storage. Carefully following the steps outlined in this guide will help you get your new hard drive plugged in and functioning smoothly.