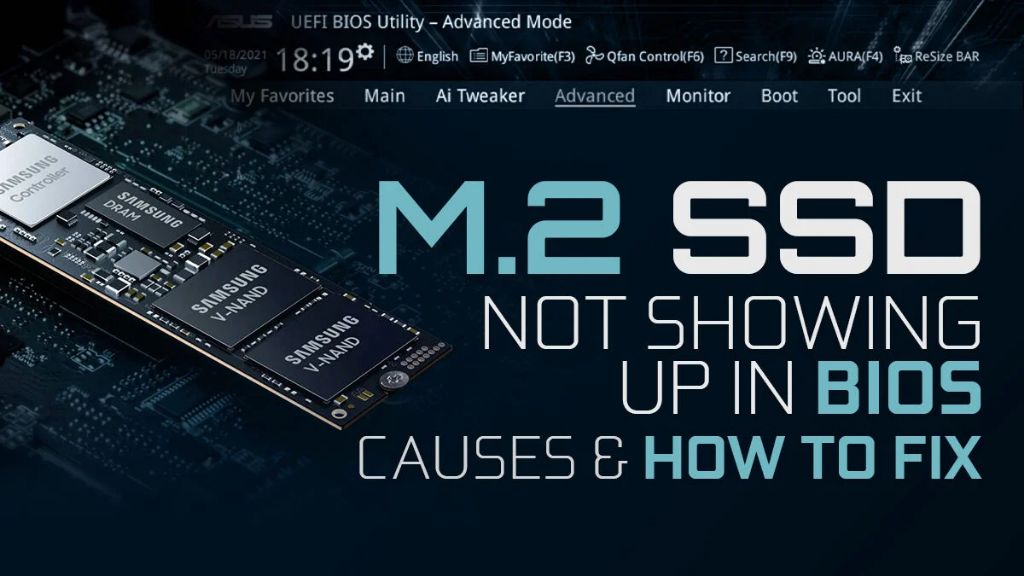
If you’ve installed an M.2 SSD but it’s not showing up as a bootable drive, there are a few potential causes and solutions to try.
Quick Overview
Here’s a quick overview of common reasons an M.2 drive may not be detected as a bootable drive and some basic troubleshooting steps:
- Drive not properly seated – Remove and reinsert the M.2 drive to ensure it’s fully seated in the slot.
- Incorrect boot order – Enter your BIOS and check that the boot order lists the M.2 drive first.
- Missing drivers – Install the latest chipset and storage drivers for your motherboard.
- Damaged drive – The M.2 drive itself could be faulty and may need to be replaced.
- Disabled CSM/Legacy mode – Make sure UEFI mode is enabled in BIOS, not legacy/CSM.
- Secure boot enabled – Try disabling secure boot in the BIOS if enabled.
- Incorrect drive format – The drive may need to be formatted as GPT instead of MBR.
Carefully going through these steps can help identify and correct the issue preventing your M.2 drive from being detected properly for booting.
Making Sure the M.2 Drive is Properly Installed
One of the most common reasons an M.2 drive won’t show up as a bootable option is because it’s not properly seated in the M.2 slot on the motherboard. M.2 drives use a form factor that allows them to clip directly onto the motherboard without any cables.
Because they seat directly into the motherboard, it’s important that they are fully pushed into the slot until the retention clip clicks into place. If the drive is not pushed all the way in, it may make an electrical connection but not a proper data connection with the motherboard slot.
If your PC is not detecting the M.2 drive in BIOS or in your OS, double check that the drive is snapped securely into the slot. You can try removing it completely and reinserting it to get a good connection. Just be careful not to damage any pins on the slot or drive when reseating it.
Steps to Reseat M.2 Drive
- Power off the PC and disconnect power cable
- Open the PC case to access the motherboard
- Locate the M.2 slot
- Gently remove the M.2 drive from the slot
- Check for any obstructions or debris in the slot
- Reinsert the M.2 drive into the slot and fully push into place
- Listen for a click when the retention clip locks
- Replace case panels and reconnect cables
- Boot up the PC and check BIOS and OS detection
Taking the extra time to reseat the drive helps rule out any poor connections and improves the chances your PC will detect the drive.
Checking Boot Order in BIOS
After physically reseating the M.2 drive, the next thing to check is your system’s boot order. The motherboard BIOS controls the boot order and this determines the priority of devices that the system will try to boot from.
Even when an M.2 drive is installed properly and detected by the BIOS, it still may not show up as a bootable device if it’s not at the top of the boot order. Many systems will default to the primary hard drive or other storage as first boot device.
Accessing your BIOS settings is done by pressing a key like DEL, F2 or F10 during the initial startup/POST process. This enters the UEFI or legacy BIOS interface where you can view and edit settings for hardware detection and configuration.
From there, you’ll want to locate the boot order or boot priority menu. The naming can vary between manufacturers but you’ll see a list of detected storage drives and devices. Make sure your M.2 SSD is listed here and use the arrow keys to move it to the first/highest boot priority.
Save your changes before exiting BIOS and allow your system to reboot. At the next startup it should now automatically attempt booting from the M.2 first.
Example BIOS Boot Order Screen
In this example BIOS screen, the boot priorities are listed on the left. The M.2 SSD needs to be moved to the first position for bootable detection.
Updating Drivers
Assuming the physical connection is good and the BIOS sees the drive but it’s still not bootable, a driver issue may be preventing proper communication. M.2 drives rely on up-to-date storage drivers and the chipset driver for full functionality.
Outdated or missing drivers can manifest as drives not being detected properly or not showing up as a bootable option. The ideal troubleshooting step is to install the latest drivers from your motherboard OEM’s website.
Chipset drivers allow hardware like the CPU and M.2 slot to communicate properly with Windows. And current storage drivers let the operating system fully access the capabilities of devices like M.2 NVMe drives.
Finding Latest Drivers
To find the latest chipset and storage drivers for your specific motherboard model:
- Search for your motherboard brand and model number
- Go to the support site for your motherboard model
- Look for the downloads section and any driver update utilities
- Download the latest chipset driver and SATA/NVMe storage driver
- Run the driver installers and restart your PC when prompted
With these crucial drivers up to date, your system has the best chance of detecting, initializing and booting from the M.2 drive properly.
Checking for Drive Failure
In some cases, you may find that even after reseating the drive, setting boot order and installing drivers, the M.2 SSD still does not show up as bootable. This points to a physical problem with the drive itself.
M.2 drives can fail or become corrupted just like regular SATA SSDs and hard drives. If your M.2 drive is not even being detected by the BIOS anymore, it’s very likely a hardware failure or physical damage to the drive.
You can try testing the drive in another M.2 slot if you have one available, or using a USB M.2 enclosure to see if it’s recognized by another PC. But oftentimes with an M.2 failure, the drive will need to be replaced.
One reason to potentially move your OS and apps to a secondary drive is if you suspect the boot M.2 may be failing. That way a failure doesn’t leave you unable to boot up. Always make sure important data is backed up regardless.
Signs of a Failing M.2 SSD
- Disappearing from BIOS detection
- OS fails to boot with drive installed
- Errors like read/write failures in OS
- Corrupted data and bad sectors
- Overheating and thermal throttling
- Strange behaviors like stuttering and freezing
If you notice any of these signs combined with the drive not being bootable, replacement is probably required. Most M.2 drives include at least a 3-5 year warranty.
Checking for CSM/Legacy Mode
Another setting that can prevent an M.2 drive from being detected as a UEFI bootable device is having CSM or legacy mode enabled in BIOS. This compatibility mode allows support for older operating systems.
With CSM/legacy support turned on, the M.2 drive may show up in the boot order but only as a legacy device. For true UEFI capability, you need to switch to a UEFI only boot mode. This is sometimes referred to as toggling between legacy and UEFI.
Re-entering your BIOS setup, you’ll want to find the boot mode option. This setting will allow choosing between legacy/CSM or switching to UEFI only. Disabling CSM and any legacy option will ensure your boot devices including the M.2 SSD are initialized as UEFI drives.
The system will need to restart once to apply this firmware change. Then on next bootup, verify your UEFI devices are listed in the boot order menu now.
Example UEFI Boot Mode BIOS Setting
As shown in this example BIOS screenshot, there is typically an option to toggle between UEFI and legacy boot modes when CSM is enabled.
Disabling Secure Boot
On some newer systems, an extra security feature called Secure Boot may be preventing the M.2 drive from being accessed as a bootable device. When enabled, Secure Boot restricts booting to only verified OS bootloaders and keys.
Many Windows PCs today come with Secure Boot enabled by default for extra security. But this can inadvertently block booting from drives you’ve installed separately after the fact. The M.2 may be detected but restricted from loading as a boot device.
Like other BIOS options, Secure Boot can simply be disabled through the firmware settings. Look for a “Secure Boot” menu and toggle it to either completely off or setup mode. With it disabled, the system should no longer block the M.2 drive from booting.
You can re-enable Secure Boot again afterward once you’ve verified the M.2 works as a boot device. Just be aware toggling it off temporarily may be required during troubleshooting.
Secure Boot BIOS Setting Example
Secure Boot is typically found as its own menu and can be disabled entirely or switched to setup mode.
Checking Disk Partition Format
One last possibility preventing bootability for a new M.2 SSD is that the drive may need to be formatted and partitioned properly for UEFI systems.
For drives to be detected as UEFI boot devices, they must use the GPT partition table format rather than the older MBR style. Many newer M.2 SSDs will be pre-formatted GPT already.
But if you’ve migrated an older M.2 or are re-using a drive that hasn’t been erased, it may not have a GPT partition table. This can prevent UEFI recognition even if the BIOS sees the disk drive itself.
To check the format, you can go into Windows Disk Management and view the listed properties of the M.2 disk. Or use the diskpart command-line tool and type “detail disk” to see partition information.
If it’s listed as having an MBR table, you’ll want to erase and reformat the M.2 drive to use GPT partitioning. This will allow UEFI firmware and Windows bootloader to detect the drive.
Converting MBR to GPT
To cleanly convert an MBR formatted M.2 SSD to use GPT:
- Backup data and perform full drive erase
- Using diskpart, clean the disk then convert to GPT
- Create a new simple volume filling all space
- Mark the volume as active/bootable
This will recreate the partitioning as GPT without needing any tricks to convert in-place from MBR. Check bootability again after, and initialize the drive for your OS installation.
Conclusion
Troubleshooting an M.2 SSD not being detected for booting can certainly be frustrating. But methodically stepping through potential physical, firmware, driver and software issues allows you to rule out the common culprits.
Ensuring the drive is fully inserted, shows up in BIOS settings, installing platform drivers, toggling boot modes, and verifying partition alignment for UEFI should help expose the problem. Persistence pays off to determine if it’s a configuration issue or a true hardware failure.
Catching and addressing the problem early also gives you a chance to clone or backup your data before the drive becomes fully unresponsive. And you can potentially identify a faulty drive before migrating your whole OS and having it fail to boot afterward.
Overall, don’t assume a non-bootable M.2 means you necessarily have a dead drive. There are still troubleshooting steps to resolve detection issues first. But also be prepared just in case it does end up requiring replacement under warranty.
