If you’ve recently purchased an item from the iTunes Store but don’t see it in your library, there are a few potential reasons and solutions to try. In this comprehensive guide, we’ll walk through the most common reasons your purchase may not be showing up, along with step-by-step instructions to help you locate and access your content.
Quick Overview: Why Your iTunes Purchase Isn’t Showing
Here are some of the most common reasons your iTunes purchase may not be appearing:
- It’s still downloading – Give it time to fully download and refresh your library
- You’re viewing the wrong library – Double check that you’re in the right Music/TV Shows/Movies library
- The download was interrupted – Check purchase history and redownload if needed
- It’s DRM protected – Movies and TV shows won’t appear on all devices due to DRM
- You’re not signed in – Sign in with the Apple ID used for the purchase
- You requested a refund – The content will disappear if refunded or canceled
Read on for more details on troubleshooting each of these potential issues.
Step 1: Give it Time to Download
The most common reason your purchase isn’t showing up is simply because it hasn’t fully downloaded yet. Even on a fast internet connection, it can take 5-10 minutes or longer for purchases, especially large HD videos, to download and appear in your library.
After initiating a purchase, it will begin downloading in the background. Check the Downloads menu on a Mac or the Music/TV/Video app on an iPhone or iPad to monitor the status.
On a Mac, click the Downloads icon in the toolbar or choose Downloads from the Go menu. This will show all pending and completed downloads. On iOS devices, launch the Music, TV, or Video app and select Downloads to see downloads in progress.
Give the download enough time to fully complete – don’t interrupt it and do not turn off or restart your device. Once it finishes, you should see the new purchase appear in your library within a minute or two after refreshing.
Tips for Faster Downloads
- Use a fast, stable internet connection
- Pause other downloads or streaming
- Connect your device directly to a router with ethernet
- Restart your device before downloading
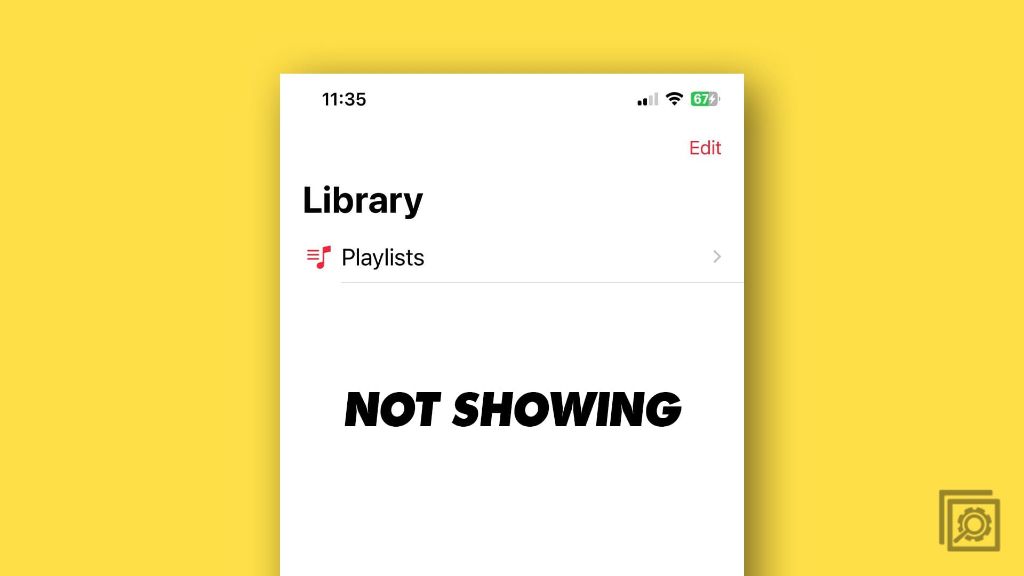
Step 2: Check You’re Viewing the Correct Library Section
Another common mistake is looking for your purchase in the wrong section of your media library. For example, searching in your Music library when you purchased a TV show or audiobook.
To access your full iTunes purchase history, you need to view your account on a desktop PC or Mac. Go to account.apple.com and sign in, then choose ‘Purchase history’ to see a list of everything you’ve purchased.
On iOS devices or in the Music, Podcast, TV, or Books apps, you will only see the relevant media type. Make sure to check:
- Music for songs, albums, and music videos
- TV for TV shows and movies
- Books for audiobooks and ebooks
- Podcasts for podcast subscriptions
If you accidentally purchase a TV show in Music for example, you’d need to go to the TV app to actually watch it.
Step 3: Check for Interrupted Downloads
If a download gets interrupted before fully completing, this can also prevent it from showing up properly in your library.
On a Mac, go to Downloads and look for any purchases with paused, failed, canceled or error statuses. Select the download and choose ‘Resume’ to restart it. On iOS, go to Downloads and resume any purchases still in progress.
Check your internet connection first – connecting directly to ethernet or a strong WiFi signal can help stabilize download speeds.
If resuming does not work, you may need to redownload the purchase entirely. On iOS, swipe left on the item and tap Delete, then go back to the iTunes Store and download again. On a Mac, Option-click the item and choose Remove from List to delete it, before downloading again.
Automatically Resume Interrupted Downloads
You can enable automatic download resuming so interrupted purchases will restart on their own once back online. On Mac, check Preferences > Store in the iTunes app. On iOS, go to Settings > [your name] > iTunes & App Store.
Step 4: Check for DRM Protection
Movies, TV shows, and some audiobooks you purchase from iTunes may have DRM (Digital Rights Management) restrictions applied to them. This encrypts the files and limits playback to authorized devices only.
If you cannot get a video product to show up properly, DRM incompatibility is often the issue. Some things to check:
- Make sure you are signed in to iTunes with the Apple ID used for the purchase. DRM keys are associated with your account.
- Movies and TV shows purchased from iTunes can only be played in the TV app (iOS) or iTunes app (Mac/PC), and not third party players.
- Downloads may be limited to a set number of authorized devices, so it may not work across all of your devices.
- You can authorize additional devices via your account settings, but there are limits to the total number.
Essentially, DRM restricts your ability to freely access the content across devices. You can play it only in official apps while signed into the account that purchased it.
Step 5: Sign in With the Correct Apple ID
In order to see and play purchases in iTunes or your iOS media apps, you need to be signed in with the same Apple ID account that originally made the purchases.
Media you acquire is associated permanently to the purchasing account as the “buyer.” So if you switch to a different ID, those purchases will temporarily disappear until switching back.
On a Mac, make sure you are signed in to the iTunes app with the proper credentials under Account > Authorizations. On an iPhone, iPad, or Apple TV, double check the ID under Settings > [your name] > iTunes & App Store.
If you are using Family Sharing, purchases made by a family member will show up for all users after they are downloaded. But you still need to sign in individually with the purchasing account to download and play them.
If you cannot remember the Apple ID used to make a purchase, you can view your complete purchase history at account.apple.com while signed into your current account. Switch IDs temporarily if needed to redownload.
Step 6: Verify Purchase Date and Check for Refunds
One final possibility – maybe you requested a refund and the purchase was revoked or canceled?
On a desktop PC or Mac, visit account.apple.com and view your complete purchase history while signed in. This will show the status of every purchase made under your account.
Look for the transaction in question and check if the status is Canceled or Refunded rather than Download. If so, this indicates you canceled the transaction and will no longer have access to the content.
Note that iTunes purchases can only be refunded within 90 days of the transaction date. After that, refunds and cancellations are no longer possible.
If the content is still within the valid refund period, you may be able to request a refund in order to repurchase it. But this is not always guaranteed depending on the content license terms.
Getting Additional Support
If you still cannot locate your iTunes purchase using the troubleshooting tips above, a few additional options include:
- Contact iTunes Support online or by phone for personalized assistance troubleshooting
- Check the Apple Support Communities forums for feedback from other users
- Contact the app developer/content creator if you suspect an issue on their end
- As a last resort, request the content distributor or your credit card issuer refund the transaction so you can repurchase
Provide details on exactly what type of content you purchased, the date and approximate time, your Apple ID, and steps taken so far to locate it when you reach out for help.
Preventing Lost iTunes Purchases
To avoid mysteriously missing iTunes purchases going forward, here are some handy tips:
- Always monitor large downloads until fully complete before closing your device or app.
- Save iTunes purchase receipts/confirmation emails for reference.
- Periodically review your account Purchase History for unexpected cancellations or refunds.
- Avoid switching Apple IDs once purchases are made.
- Use ethernet for downloads whenever possible for faster, more reliable speeds.
- Turn off Auto-Download if you have a metered cellular data plan and want to avoid unwanted roaming fees.
Following best practices around downloading, disconnecting, refunds, and account management will minimize situations where your purchased music, movies, apps, and more get lost in limbo.
Summary and Conclusion
Troubleshooting missing iTunes purchases comes down to a few common issues like interrupted downloads, viewing the wrong library, DRM limitations, using the wrong Apple ID, or refunds/cancellations.
Carefully review your purchase history and check for the content both in your iTunes app and appropriate iOS media app like Music, TV, or Books based on the product type. Monitor downloads closely until complete, and resume any partial downloads.
Validate you are signed in with the correct Apple ID everywhere, the one originally used to purchase the content. Confirm there were no refunds or reversals of the transaction by checking your account purchase status online.
With patience and systematically working through the troubleshooting steps, you should be able to successfully locate and access any available past iTunes purchase. This will ensure you always have access to the music, movies, apps and more that you paid for.
