Formatting a hard drive is the process of preparing a hard drive for use by erasing all of its previous contents and setting up a file system so your operating system can read data from and write data to the disk. Formatting removes all files from a hard drive and allows you to reinstall a fresh copy of your operating system if desired.
Why Would I Need to Format a Hard Drive?
There are several reasons why you may want or need to format a hard drive:
- To erase all data and start fresh – Formatting wipes all files and installed programs from a hard drive.
- To change file system – Formatting allows you to convert between file systems like FAT32 and NTFS.
- To resolve data corruption or errors – Formatting can help fix hard drive problems like bad sectors.
- To reinstall operating system – Formatting is often required before doing a clean install of Windows or other OS.
- To improve performance – Formatting may help improve speeds if drive has become cluttered.
Preparing to Format Your Hard Drive
Before formatting, it’s important to confirm you have backups of any files you want to keep. Formatting erases everything on the drive, so make sure you won’t lose anything important.
You’ll also want to confirm any installed programs you may want to keep. Formatting removes all installed applications, so you’ll have to reinstall any you want to use after formatting.
Finally, check whether your version of Windows requires any specific file system for installation. Most modern versions use NTFS, but older versions may require FAT32.
Using Windows Built-In Tools to Format
Windows includes formatting utilities built right in for formatting hard drives. Here are the steps to format using Windows:\
1. Type “Create and format hard disk partitions” in the Windows search bar and select it.
2. In the Disk Management window that opens, right-click the disk you want to format.
2. Select “Format…” from the menu.
3. Choose your desired file system – usually NTFS or FAT32.
4. Give the drive a name if desired.
5. Check “Perform a quick format” to format faster.
6. Click “OK.”
7. Confirm formatting when prompted.
Windows will format the drive, a process which typically takes several minutes depending on drive size. Once complete, the drive will show as unallocated space in Disk Management.
Using Third-Party Tools
There are also third-party formatting tools you can use as well:
- EaseUS Partition Master – Provides advanced formatting options beyond Windows built-in tools.
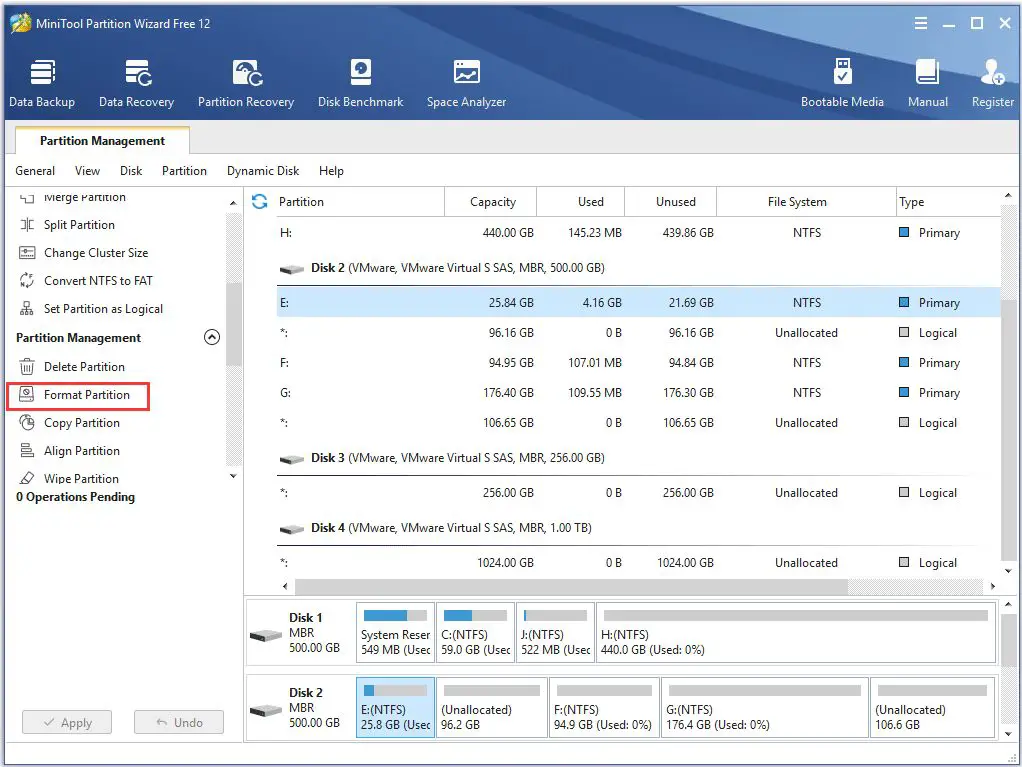
- MiniTool Partition Wizard – Allows resize, copy, move, delete partitions in addition to formatting.
- AOMEI Partition Assistant – Facilitates formatting and provides data wiping to secure erase.
- GParted – Free open source formatting tool for Windows and other OSes.
These tools provide added flexibility for power users but are not required for basic formatting tasks.
Formatting from BIOS
You can also format a hard drive from your computer’s BIOS:
- Reboot your computer and enter the BIOS setup utility.
- Locate the hard drive you want to format.
- Select the option to format or erase the drive.
- Choose your desired file system.
- Confirm formatting when prompted.
- Exit BIOS and reboot.
This allows formatting without entering the operating system. However, options are limited compared to Windows tools.
Secure Erasing Drives
When selling, donating or disposing of a hard drive, you may want to not just format but securely erase data. This overwrites the drive to make data unrecoverable.
Windows includes a secure erase tool called Diskpart. To use it:
- Type “diskpart” in the Windows command prompt.
- Type “list disk” to show all connected disks.
- Select the disk to erase with “select disk x” (x=disk #).
- Type “clean” to overwrite entire drive.
Alternatively, many third-party tools like DBAN also offer secure erasure features.
Formatting SSDs vs. HDDs
There are a few differences when formatting solid state drives (SSDs) versus traditional hard disk drives (HDDs):
- SSDs format significantly faster than HDDs.
- Wear leveling on SSDs spreads writes across cells, preventing frequent reformatting from wearing any one cell.
- SSDs don’t need defragmenting like HDDs.
- HDDs should be formatted if experiencing performance issues, but SSDs very rarely need formatting for this purpose.
Aside from those factors, the process for formatting is largely the same between HDDs and SSDs.
Conclusion
In summary, formatting a hard drive using Windows tools involves right-clicking the drive in Disk Management and selecting the “Format…” option. Be sure to back up any needed data first. Choose your desired file system, name the drive if wanted, perform a quick format, and confirm to begin. Alternatively, third-party tools or BIOS provide other options.
Knowing how to properly format a hard drive enables you to wipe disks for disposal, resolve data corruption, change file systems, improve performance, and prepare for OS installations.
| Tool | Pros | Cons |
|---|---|---|
| Windows Built-In | Simple, no extra software required | Limited options |
| Third-Party (EaseUS, MiniTool, etc.) | Advanced options available | Requires downloading and installing software |
| BIOS | Allows formatting without OS | Very limited functionality |
