What is a Windows 7 Recovery Disk?
A Windows 7 recovery disk is a bootable CD or DVD that is created from a Windows 7 installation disc or files. It contains a backup of critical Windows 7 system files, recovery tools, and a system image containing a snapshot of the Windows 7 installation.
The main purpose of a Windows 7 recovery disk is to restore, refresh, or repair a Windows 7 installation on the specific computer it was created for. If Windows 7 becomes corrupted or unbootable, the recovery disk allows you to access system recovery tools and restore Windows back to a working state. It can be used to perform system restores, refresh the PC, or access advanced startup options.
A key aspect is that the recovery disk contains drivers, settings, and other customizations specific to the PC it was created on. This allows it to boot that computer into Windows RE (Recovery Environment) and restore the original Windows 7 system image and configuration.[1]
Reasons to Use a Windows 7 Recovery Disk
A Windows 7 recovery disk can be extremely useful in certain situations. Here are some of the main reasons you may need to use a Windows 7 recovery disk:
Restore Windows 7 after reinstalling or replacing the hard drive – If you replace your hard drive or reinstall Windows 7 for any reason, you will need to reinstall Windows using a recovery disk. The recovery disk contains the files necessary to get Windows running again.1
Repair Windows 7 boot issues, registry errors, corrupted system files – A Windows 7 recovery disk contains repair tools that can automatically diagnose and fix many common Windows problems like boot failures, blue screens, corrupted registry files, and damaged system files. This allows you to repair your PC without losing data.2
Requirements for Using a Recovery Disk
In order for a Windows 7 recovery disk to work properly on another computer, the hardware and Windows 7 edition must be compatible between the two machines. The recovery disk is typically customized for the PC it was created on, so certain requirements need to be met:
- The Windows 7 edition (Home, Professional, etc.) must match between the two computers. A Home recovery disk will only work for Home, while a Pro disk is for Pro.
- The new PC’s hardware components, like CPU, RAM, hard drive, etc. should be similar to the original PC so all the required drivers can be installed. Vastly different hardware may cause issues.
- The system architecture – 32-bit or 64-bit – must also match between the PCs for proper compatibility.
The closer the new PC matches the original one’s specs and Windows edition, the more likely the recovery disk will work properly. However, it’s not guaranteed to work even with close matching since the disk contains customized drivers and settings. Confirm hardware compatibility before trying a recovery disk from another PC.
Source: https://www.easeus.com/backup-utility/create-windows-7-recovery-disk-from-another-computer.html
Trying a Recovery Disk on Another PC
Using a Windows 7 recovery disk on another computer may work if certain compatibility requirements are met, but it also carries some risks of failure. According to EaseUS [1], the Windows 7 edition and the PC hardware must be compatible for the recovery disk to function properly on the new machine. The boot files and system files contained on the recovery disk must match the hardware configuration of the new PC in order to load.
For example, a recovery disk created on a PC with an AMD processor likely will not work on a new PC with an Intel processor due to driver incompatibilities. The editions of Windows 7 also matter – a recovery disk from Home Premium edition may not work properly on a PC licensed for the Professional edition [2]. Using a mismatched recovery disk carries the risk of OS issues like failed boots, crashing during recovery, or the recovery tools themselves not functioning.
It’s generally recommended to create a new recovery disk on the specific PC you want to restore rather than attempting to use one from another machine. However, with matching hardware and Windows editions, a Windows 7 recovery disk can sometimes work on a different PC successfully.
Best Practices When Using a Recovery Disk
When using a Windows 7 recovery disk, it is important to follow some best practices to avoid potential issues. First and foremost, be sure to backup any important data and files before using the recovery disk. This will ensure no critical information is lost if any problems occur during the recovery process. External hard drives or cloud storage services like OneDrive are good options for backups.
It is also advisable to check the hardware compatibility in your computer’s BIOS before attempting to boot from the recovery disk. The BIOS settings allow you to select the boot order and enable booting from USB or DVD drives if needed. Confirm the recovery disk will be recognized by your PC’s hardware.
Additionally, try booting into Windows repair mode or safe mode first before fully restoring the system from the recovery disk. Windows repair can fix certain issues like corrupted system files without a full restore. Safe mode loads a minimal version of Windows that may allow you to backup data or troubleshoot problems.
According to Ubackup, following these best practices when working with a Windows 7 recovery disk can help avoid potential complications and ensure the best possible outcome.
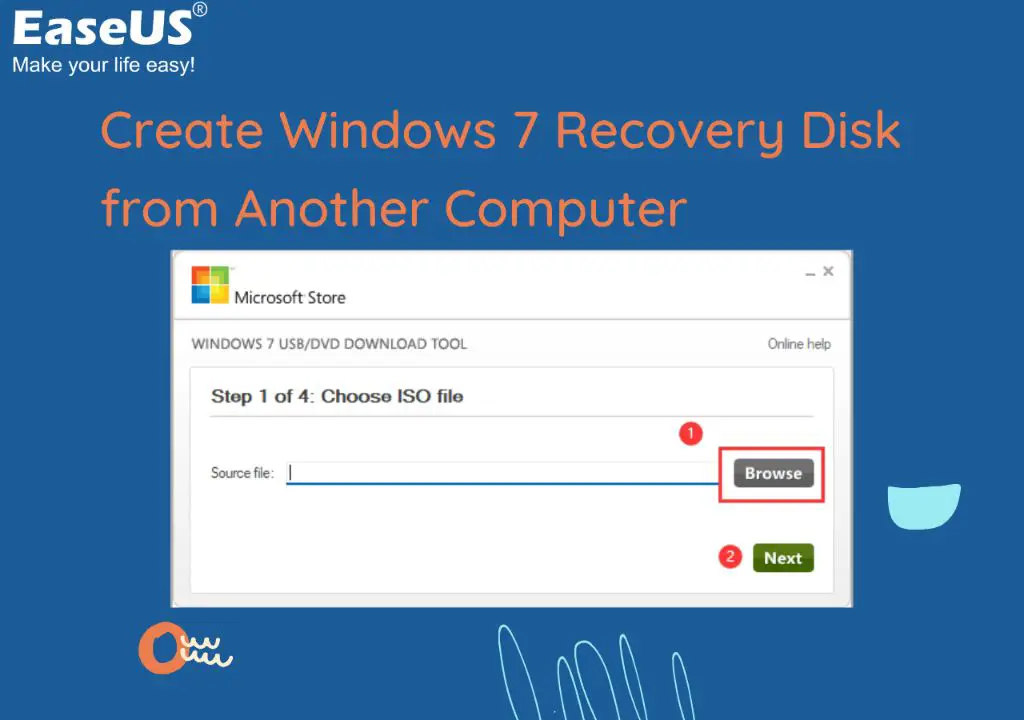
Creating a New Recovery Disk
Since recovery disks are hardware and Windows edition specific, the best solution is often creating a new recovery disk tailored to your new PC’s hardware and Windows 7 edition. You can use the Windows 7 installation media to create a new recovery disk.
Follow these steps to create a custom recovery disk for your new PC:
- Insert the Windows 7 installation disc or USB and boot from it.
- On the Install Windows screen, click on “Repair your computer.”
- The System Recovery Options menu appears. Select “Command Prompt.”
- Type recdisc and press Enter. This launches the Recovery Disk utility.
- Follow the prompts to create your new recovery disc. Make sure to select the drive letter for your USB or DVD.
Since this recovery disk is specifically created for your new PC’s hardware, it has a much better chance of successfully restoring Windows 7 compared to using an old disk. However, remember to keep the install media handy as you may need it for future system repairs.
Alternatives to a Recovery Disk
While a Windows 7 recovery disk is useful, there are some alternatives that may work better depending on your situation:
Windows 7 Install Media
You can reinstall Windows 7 using the original install media. This will completely wipe the hard drive and do a clean install of Windows 7. The install media can be a DVD or USB flash drive. This is a good option if you want to start fresh and don’t need to recover any files or settings.[1]
System Image Backup
Creating a system image allows you to restore your entire system from a backup. This preserves your files, settings and installed programs. System image backups can be created regularly with the Windows 7 Backup and Restore utility. Restoring from a system image backup provides an alternative way to recover your system.[2]
Third Party Boot Disks
There are third party boot disks from companies like EaseUS that can be used to repair Windows 7 without needing the original install media. These boot disks contain recovery tools and allow you to access advanced startup options to troubleshoot and fix issues with Windows 7.[3]
Migrating Windows 7 to New PC
When getting a new PC, you may want to move your existing Windows 7 installation and files over to the new computer. There are a couple of methods to achieve this:
Use Windows Easy Transfer to move files/settings: Windows 7 has a built-in Windows Easy Transfer wizard that can help migrate many of your personal files and settings to the new PC. It doesn’t move programs or drivers, but it will transfer things like documents, music, pictures, email accounts, and more. Run Windows Easy Transfer on the old PC, select what to migrate, then run it again on the new PC to transfer the data (source).
Perform clean install on new PC, reinstall apps/drivers: For the best experience, it’s often recommended to do a fresh Windows 7 installation on the new PC. You can then reinstall applications, drivers, and other programs manually. This avoids transferring any outdated drivers or problematic settings from the old PC. Use Windows Easy Transfer to bring over your personal files and settings (source).
Summary
A Windows 7 recovery disk contains files specific to the hardware and operating system it was created for. While it may be possible to use a recovery disk on a different computer than the one it was created for, there are risks involved. The recovery disk may not have the proper drivers for the new computer’s hardware, and could fail to restore Windows properly.
It is generally recommended to create new recovery media using the recovery tools built into Windows 7 when setting up a new computer. This will ensure the recovery disk has the correct drivers and files specific to that computer’s make and model. Attempting to use an old recovery disk risks complications during the recovery process.
In summary, while an existing Windows 7 recovery disk may work on a new PC, it’s better to play it safe and create a new recovery disk matched to your specific computer hardware and software configuration. This avoids potential issues restoring Windows and guarantees full compatibility with your PC.
References
[1] Microsoft. “What is a recovery drive and how would you use one?” https://support.microsoft.com/en-us/windows/what-is-a-recovery-drive-and-how-would-you-use-one-c7c22c38-5928-b001-c008-e90bb91bf8e2. Accessed January 2023.
[2] Microsoft. “Create a recovery drive.” https://support.microsoft.com/en-us/windows/create-a-recovery-drive-abb4691b-5324-6d4a-8766-73fab304c246. Accessed January 2023.
[3] Microsoft. “Recovery options in Windows 10.” https://support.microsoft.com/en-us/windows/recovery-options-in-windows-10-31ce2444-7de3-818c-d626-e3b5a3024da5. Accessed January 2023.
[4] Microsoft. “How to transfer your data from a Windows 7 PC to Windows 10.” https://support.microsoft.com/en-us/windows/how-to-transfer-your-data-from-a-windows-7-pc-to-windows-10-cb0c89b7-02d3-f2be-cb02-231e48fdbcd7. Accessed January 2023.
