SD cards have become the standard removable storage for many devices including digital cameras, mobile phones, and tablets. SD cards come preformatted with different file systems depending on their size and intended usage. The most common file systems for SD cards are FAT32 and exFAT.
FAT32 has been around since Windows 95 and is supported across all operating systems. It has a maximum file size of 4GB and maximum partition size of 32GB. exFAT is a modern replacement for FAT32, introduced in Windows Vista. It supports files over 4GB in size and partitions over 32GB. However, exFAT has less compatibility with older devices compared to FAT32.
There are times when it may be necessary to reformat an exFAT SD card to FAT32. Doing so allows using the card with devices or systems that don’t support exFAT. It also enables features like cluster size adjustment which is not available on exFAT. This guide will walk through how to properly format an SD card from exFAT to FAT32.
When to Format to FAT32
The FAT32 file system has greater compatibility with older devices compared to exFAT. Many older digital cameras, video game consoles, media players, and other gadgets support FAT32 but not exFAT. For example, the Sony PlayStation 3 and Microsoft Xbox 360 gaming systems require FAT32 formatted SD cards in order to play downloaded games or save game data [1].
Likewise, older versions of Windows like XP and Vista do not support exFAT, so a FAT32 SD card may be required for full compatibility [2]. Many digital cameras made before 2010 may also lack exFAT capability. Thus, to ensure maximum compatibility with these kinds of legacy devices, formatting the SD card to FAT32 is recommended.
Formatting Considerations
When formatting an SD card to FAT32, it’s important to consider the file size limit imposed by the filesystem. FAT32 has a maximum file size of 4GB.[1] This means any individual file larger than 4GB cannot be saved to a FAT32 formatted SD card. Videos, ISO disc images, and other large files often exceed this size limit.
If you need to store files larger than 4GB, it’s better to format the SD card to a filesystem like exFAT or NTFS which support much higher file size limits. However, some older devices may not be compatible with these filesystems. FAT32 has the widest compatibility with cameras, gaming consoles, music players, and other devices.
[1]“Unlocking the Secrets to Uploading Massive Files on FAT32”, https://www.dvdfab.cn/resource/video/max-file-size-for-fat32.html
How to Format SD Card to FAT32
There are a couple options for formatting an SD card to FAT32 on Windows. The easiest is to use the built-in Disk Management utility. Here are the steps:
- Open Disk Management (press Windows key + R and type “diskmgmt.msc”)
- Right-click on the SD card and select “Format”
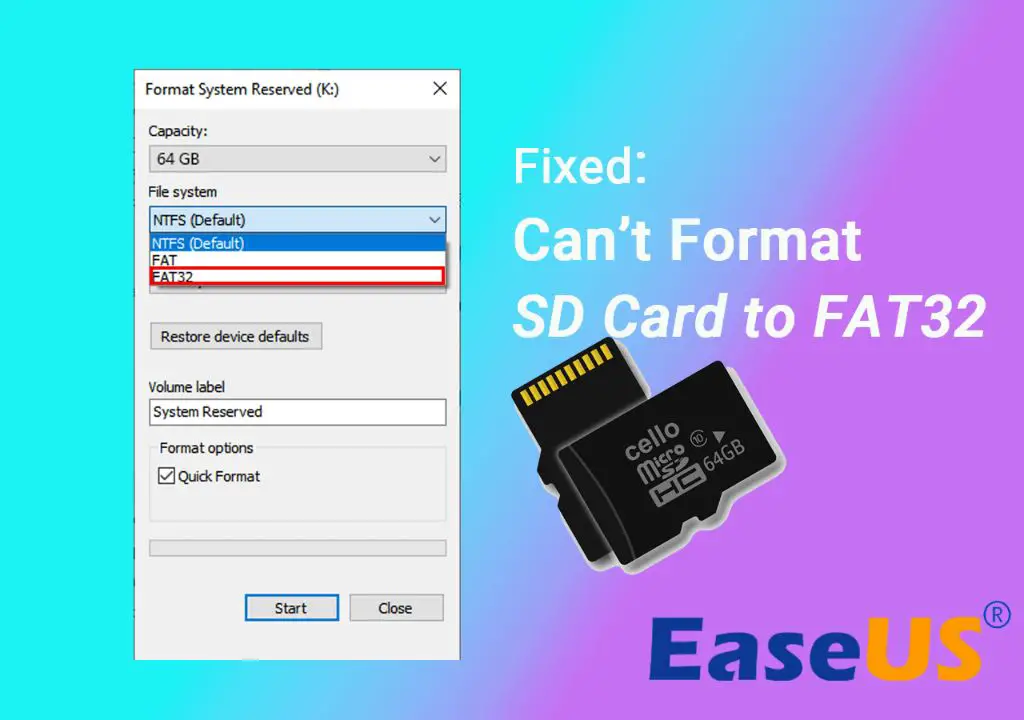
- Under “File System”, choose “FAT32”
- Check “Quick Format” and click “OK”
One limitation of Disk Management is that it won’t allow formatting cards larger than 32GB to FAT32. For larger cards, you’ll need third party software like MiniTool Partition Wizard.
With MiniTool, the steps are similar:
- Select the SD card and choose “Format”
- Pick “FAT32” as the file system
- Adjust cluster size if desired
- Click “OK” to format
Using this software, you can format SD cards of any size to FAT32 on Windows.
Formatting on Mac
There are a few different ways to format an SD card to FAT32 on a Mac computer. The easiest method is by using the built-in Disk Utility application.
To format to FAT32 using Disk Utility (cite: https://www.easeus.com/mac-file-recovery/format-usb-flash-drive-to-fat32-on-mac.html):
- Connect the SD card to your Mac using a card reader or adapter.
- Open Finder and click Applications > Utilities to open Disk Utility.
- Select the SD card volume from the left sidebar in Disk Utility.
- Click Erase at the top.
- Choose “MS-DOS (FAT)” as the format.
- Give the volume a name.
- Click Erase to start the formatting process.
This will format the SD card to FAT32. One limitation is that Disk Utility may not allow formatting cards larger than 32GB to FAT32.
Alternatively, you can format from the command line using diskutil (cite: https://toolbox.iskysoft.com/mac-data-recovery/format-fat32-and-ntfs-drivers.html). Or use third-party formatting tools like FAT32 Format or SuperDuper! to remove the 32GB limit.
Formatting on Linux
Linux provides a couple different options for formatting an SD card to FAT32. The easiest is to use the GParted partitioning tool. GParted provides a graphical interface for managing disk partitions and file systems. Here’s how to format to FAT32 using GParted:
- Install GParted if not already installed –
sudo apt install gparted - Insert the SD card into your Linux machine
- Open GParted
- Select the SD card device (e.g. /dev/sdb)
- Click Device > Create Partition Table
- Right-click unallocated space and select New
- Set file system to FAT32, label it if desired, and click Add
- Click Edit > Apply All Operations
This will format the entire SD card to FAT32. Alternately, you can use command line tools like fdisk, mkfs.fat or dd to format to FAT32 (source). For example:
sudo fdisk /dev/sdb
sudo mkfs.fat -F 32 /dev/sdb1
The fdisk command is used to create a new partition table, while mkfs.fat formats the partition to FAT32. This provides a simple terminal method for formatting SD cards on Linux.
Formatting on Mobile
Formatting to FAT32 on mobile devices like smartphones and tablets is more limited than on desktop operating systems. Most Android and iOS devices do not have built-in utilities to format SD cards and flash drives to FAT32.
On Android, there are third party apps like “FAT32 Format” that can format external storage to FAT32. However, many have limitations like not working on SD cards larger than 32GB [1]. Fully featured paid apps may allow formatting larger cards.
For iPhones and iPads, the options are even more constrained as you cannot download file manager apps with advanced formatting utilities from the App Store. Some workarounds involve using a camera connection kit and the Windows FAT32 formatting tool on a laptop.
In summary, while it is possible to format to FAT32 on mobile devices, it is much more limited and may require paid apps or additional hardware accessories. The easiest way is to use the native formatting utilities on desktop operating systems.
Checking the Formatted Filesystem
After formatting your SD card to FAT32, it’s important to verify that the process completed successfully. There are a few ways to check the filesystem on Windows, Mac, Linux, and mobile devices:
On Windows, open the Run dialog by pressing Windows+R and type “diskpart”. In the diskpart console, type “list disk” to show connected disks. Select your SD card disk and type “detail disk” to view details including the filesystem type. You can also use Windows Explorer to right click your SD card, select Properties, and check the File System.
On Mac, open Disk Utility and select your SD card on the left. The right pane will show the format, which should indicate “MS-DOS (FAT32)” if formatted properly.
On Linux, use the lsblk command to list block devices and verify your SD card shows “vfat” under FSTYPE to confirm FAT32.
On Android, go to Settings > Storage and tap your SD card. In the next screen, look at the File system field to verify FAT32.
For iPhones, you can install an app like iMazing to connect your SD card and check the filesystem type.
If your SD card still shows another filesystem like exFAT after attempting to format, try reformatting it again until it shows FAT32.
Migrating Data Afterwards
After formatting your SD card to FAT32, you may need to transfer files back onto it that are over 4GB in size. Since FAT32 has a maximum file size limit of 4GB, you won’t be able to directly copy these larger files.
Here are a few options for migrating data back to your FAT32 SD card:
- Split any files larger than 4GB into smaller parts using a file splitter tool. Then copy the split files over to the FAT32 card separately. Software like SplitMerge can help automate splitting and recombining files.
- Temporarily format a portion of the card to a different filesystem like exFAT that supports larger files. Copy the files over, then reformat that section back to FAT32.
- Copy the files to a different device formatted as NTFS or exFAT first. Then plug the SD card into that device and copy or move the files over.
- Use a third party tool like FAT32 Copy Utility that can transfer large files to FAT32 without splitting.
With some creativity, you can migrate your data to the FAT32 card through splitting files, temporary formats, or third party tools. Just be aware of the 4GB file size limit when working with FAT32.
Drawbacks of FAT32
FAT32 has some drawbacks compared to more modern file systems like exFAT and NTFS. The biggest disadvantage of FAT32 is the lack of support for large files over 4GB in size. FAT32 has a maximum file size limit of 4GB, meaning any files larger than that cannot be stored on a FAT32 formatted drive. This makes FAT32 unsuitable for high definition media files, large databases, disk images, and other large files commonly used today (source).
Another downside of FAT32 is the lack of journaling. Journaling is a feature of more advanced file systems like NTFS and exFAT that logs file system transactions like writes, deletes, and moves. This allows easy and rapid recovery of corrupted file systems by replaying the journal log. FAT32 does not have journaling, so file system corruption can be more difficult to repair (source).
For most modern use cases requiring large media files or maximum reliability, exFAT or NTFS tend to be better options than FAT32. However, FAT32 may still make sense for small removable media like flash drives where compatibility across many older devices is key.
