Photos hold a special place in our lives by capturing memorable moments and allowing us to re-live them. However, as we take more photos on our iPhones and upload them to iCloud, our iCloud storage can quickly fill up. If you don’t routinely download and backup your photos from iCloud, you may suddenly realize years worth of photos are missing from your iPhone.
The good news is that with a few steps, you can get all your photos back from iCloud and ensure they are properly backed up. Here are some tips on how to download all your photos from iCloud and get your photo library back under control.
Check Your iCloud Storage
The first step is to check how much iCloud storage you’re currently using. This will give you an idea of how many photos are stored in iCloud. To check your storage:
- Open the Settings app on your iPhone
- Tap on your Apple ID banner at the top of the screen
- Tap on iCloud
- Under Storage, check how much storage you’re using out of the total available to you
If you’re using close to your maximum iCloud storage, chances are you have a lot of photos and videos uploaded. The next step is to determine how best to download them.
Download All Photos to iPhone
If you want to get all your iCloud photos back onto your iPhone, you can use the built-in iCloud download feature:
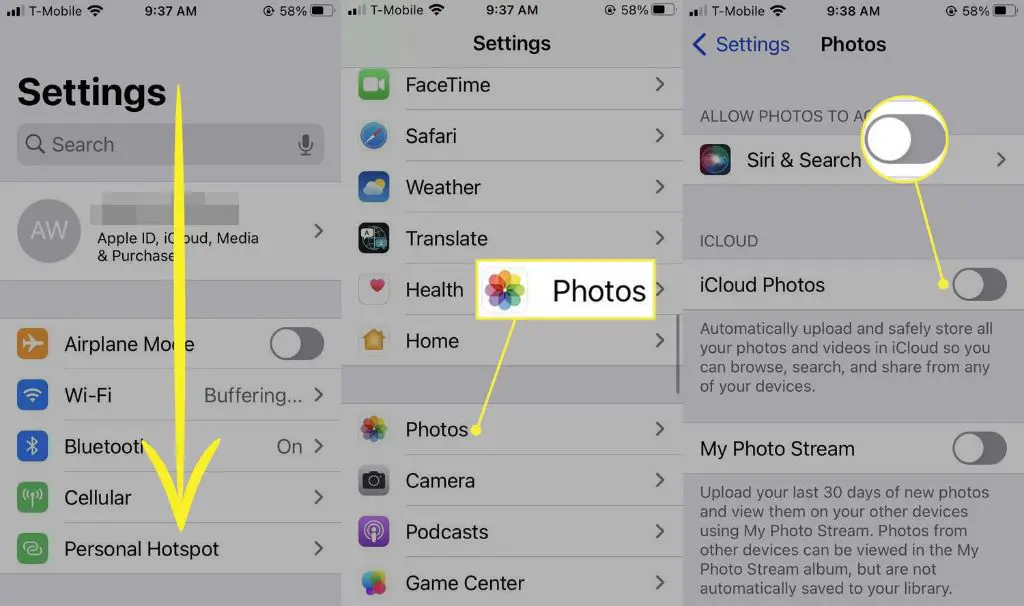
- Go to Settings > [your name] > iCloud
- Tap on Photos
- Toggle on the “Download and Keep Originals” option
This will sync all your original iCloud photos to your iPhone. Just keep your iPhone powered and on WiFi until all the photos have downloaded. This can take a while if you have a lot of photos to retrieve.
The downside of this method is it won’t necessarily organize your photos or delete duplicates. You’ll get everything back on your iPhone but you may still need to go through and clean up your Photo library afterwards.
Use iCloud for Windows
If you want to view and organize your photos on your Windows PC, you can use the iCloud for Windows app.
- Download and install iCloud for Windows (https://support.apple.com/en-us/HT204283)
- Sign in using your Apple ID
- Go to iCloud Photos and click “Options”
- Select “Download new photos and videos to my PC”
This will start downloading all your iCloud photos to your Pictures folder on your PC. You can then view, organize and backup the photos however you like.
Use Image Capture on Mac
On a Mac computer, you can use the Image Capture app to import photos from your iPhone and iPad.
- Connect your iPhone or iPad to your Mac using the USB cable
- Open the Image Capture app on your Mac (located in Applications > Image Capture)
- Select your iPhone from the sidebar
- Click “Download All” to start importing all photos
- Choose a folder on your Mac to save the photos to
This will import all photos, including those only stored in iCloud, to your specified folder on your Mac. One thing to keep in mind is that any photos already imported to your Mac won’t be re-downloaded, so this works best the first time you transfer all your photos.
Use Third-Party Apps
There are also some great third-party apps that provide an easy way to download all your iCloud photos:
iMazing
iMazing (https://imazing.com) is an iOS device manager for your computer. After installing it and connecting your iPhone, you can simply click to download all photos stored in iCloud.
iExplorer
iExplorer (https://macroplant.com/iexplorer) is another well-known iOS manager. It can selectively download just your photos from iCloud while leaving other data.
AnyTrans
AnyTrans (https://www.imobie.com/anytrans) provides robust iCloud photo management. You can download, organize and migrate photos efficiently.
The benefit of these apps is they provide more control over how photos are downloaded from iCloud. However, they do come at an extra cost while the built-in Apple tools are free.
Turn Off iCloud Photo Library
Once you’ve downloaded all your photos out of iCloud, you may want to consider turning off iCloud Photo Library on your iPhone. This will stop automatically uploading your new photos to iCloud and filling up your storage again.
Of course, keeping some photos in iCloud can be beneficial if you have multiple Apple devices and want access to your photos everywhere. But be mindful of letting your uploads get out of control.
To turn off iCloud Photo Library:
- Go to Settings > [your name] > iCloud > Photos
- Toggle off the iCloud Photo Library option
Your existing photos will stay in iCloud but new ones will only be saved to your iPhone storage, not uploaded to iCloud.
Clean Up iPhone Storage
After re-downloading all your iCloud photos, your iPhone storage may be close to capacity. Here are some tips for freeing up space:
- Offload unused apps
- Delete old messages
- Remove music you don’t listen to anymore
- Consider upgrading your iCloud storage plan if needed
Regularly Backup Photos
To avoid losing your photos again, be sure to regularly backup your iPhone photos and iCloud photos to another location. Here are some options:
- Use iCloud for Windows or Image Capture to periodically download new photos to your computer
- Connect iPhone to computer and manually transfer photos to storage
- Use a cloud storage service like Dropbox to automatically upload photos from iPhone
The key is to have redundant backups and multiple copies of your photos in different places. That way if anything happens, you won’t lose your precious memories.
Conclusion
Losing years of photos stored in iCloud can be stressful. But thankfully, with the right steps you can get your entire iCloud photo library back under your control. Take the time to properly download, organize, backup and manage your photo collection. Follow smart practices going forward to ensure your photos are always saved in multiple places. With some diligence, you can rest assured your photos are safe and available whenever you need them.
