Replacing an existing file on your Mac with a new file is common when working with your computer. You may accidentally overwrite an important document, photo, or other file that you wanted to keep. Thankfully, Mac OS has some useful built-in features to help you recover or undo a replaced file.
Quick answers
Here are some quick answers to common questions about undoing a replaced file on Mac:
- Use Time Machine backups – If you have Time Machine enabled, you can restore previous versions of a replaced file from your backups.
- Check the Trash – When you replace a file, the original is moved to the Trash. You may be able to recover it from there.
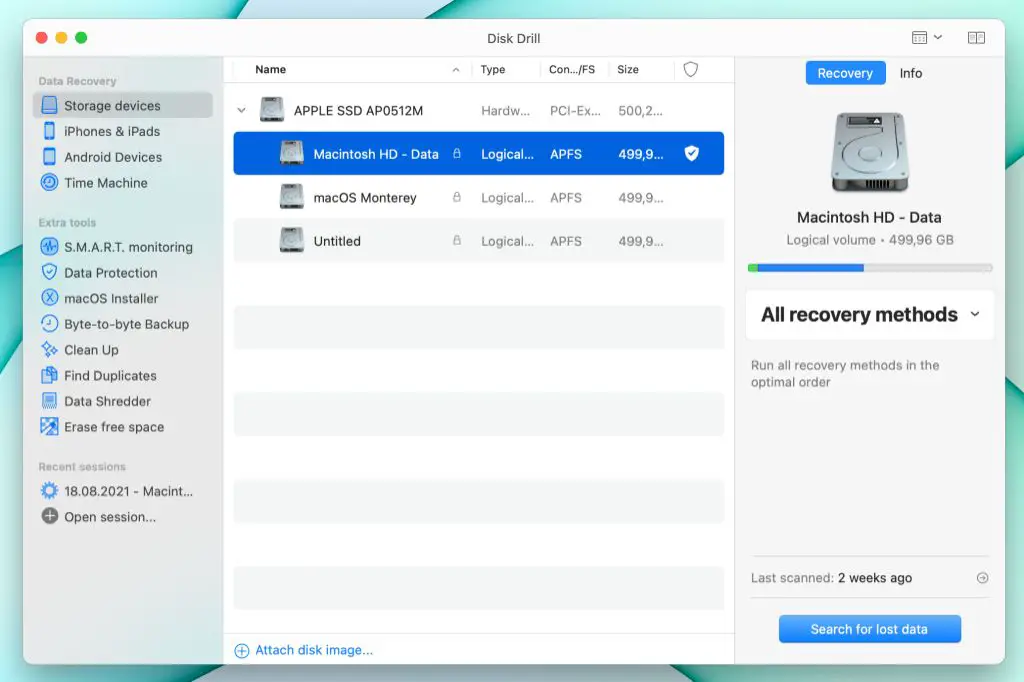
- Use a third party undelete tool – Apps like Disk Drill can scan your hard drive and recover deleted files.
- Quit the app immediately – If you just made the change, quitting the app that replaced the file may revert it.
Use Time Machine backups
Time Machine is the built-in backup utility in Mac OS that can save hourly snapshots of your files and system settings. If you have been regularly backing up your Mac with Time Machine, you can easily restore a previous version of a replaced file from one of your backups.
To use Time Machine to undo a replaced file:
- Open the Time Machine interface by clicking the Time Machine icon in the Dock or by launching it from Spotlight.
- Navigate to the folder or disk where the original file existed.
- Look through the timeline on the right to find a snapshot when the original file still existed.
- Click the snapshot to enter the backup at that time.
- Locate and select the original file.
- Click Restore to copy the file back to its original location.
This will overwrite the replaced version and restore the original. Keep in mind Time Machine backups have limits on how far back they go, so this method only works within your available backup history.
Check the Trash
When you replace an existing file on your Mac by saving a new file with the same name, the original file is moved to the Trash. So one place you can check to see if you can recover the original is in the Trash.
To try restoring a replaced file from the Trash:
- Open the Trash by clicking the Trash icon in the Dock or by launching it from Finder.
- Look for the original file you want to restore.
- Select the file and click Restore.
This will move the file back to its original location, overwriting the replaced version. The Trash only stores items for a limited time before they are permanently deleted, so this method only works if the original file was relatively recently replaced.
Use an undelete tool
If neither Time Machine or the Trash have the original file you need, your next option is to use a third party undelete tool. These apps can scan your hard drive and attempt to recover deleted files.
Some popular Mac undelete tools include:
- Disk Drill – Provides protection against accidental deletes with Recovery Vault, along with powerful scanning to recover lost files from Mac systems.
- EaseUS Data Recovery Wizard – Recovers files deleted from the trash, files lost due to partition issues, software crashes, viruses, or power outages.
- Stellar Data Recovery – Scans Mac drives and locates recoverable data, even if the Trash was emptied.
- iBoysoft Mac Data Recovery – Can recover data from corrupted, formatted, unmountable drives, and crashed or unreadable Mac computers.
The scanning and recovery process will vary depending on the specific tool, but generally involves:
- Selecting the disk or volume where the original file existed.
- Scanning the drive to identify recoverable deleted files.
- Previewing the found files to locate your original file.
- Recovering the file to a safe location on your system.
Be extremely careful when recovering files not to overwrite your existing replacement file until you have successfully retrieved the original.
Quit the app immediately
If you just recently replaced the file and haven’t done anything else within the application, quitting the app immediately may undo the file replacement.
When you make a change within an app and then close it, Mac OS asks if you want to save the changes. For some apps, reverting at this point can get you back to the previous state with the original file intact.
As soon as you realize the file has been mistakenly replaced, use the keyboard shortcut Command + Q to immediately quit the application. When prompted to save changes, select Don’t Save.
This simple trick doesn’t work in every case, but is worth a shot in the moments after a replacement since it doesn’t involve restores or scanning. Just be warned that any other changes made in the app will also be lost.
Avoid accidentally replacing files
To avoid needing to undo replaced files, it’s best to take some preventative measures:
- Backup regularly – Use Time Machine to backup all your files.
- Version files – Apps like Word have auto-save and file history to revert to earlier versions.
- Save copies – Before overwriting a file, save a copy or duplicate first.
- Pay attention to prompts – Many dialogs will warn you that you are about to replace a file.
- Be organized – Keep important files clearly labeled in designated folders.
Setting up protections like backups or versioning, and being cautious when working with your files can reduce the risk of unintentionally losing important documents and data.
Recover lost data from a Time Machine backup
If you have Time Machine backups enabled, you can easily recover previous versions of files that have been replaced, deleted or corrupted. Here is how to restore lost files from a Time Machine backup:
- Open the Time Machine interface by clicking on the Time Machine icon in your menu bar or Dock. You can also search for it via Spotlight.
- Either select the disk or folder you want to enter from the timeline on the right, or click “Enter Time Machine” to browse your Mac’s file structure from a Time Machine restore point.
- Navigate to the folder or drive containing the file you want to restore. Use the timeline to go back to a state when the file still existed.
- Once you have located the file you want to restore, select it and click the “Restore” button.
- Choose to restore to the original location or a new location.
That’s all there is to it! With a few clicks in Time Machine you can recover lost files. Just be aware that the hourly snapshots have limits in duration, usually several weeks or months worth of backups are stored.
Key Advantages of Time Machine
- Easy graphical interface to browse file versions and restore.
- Backups happen automatically in hourly increments.
- Restores original file locations and directory structure.
- Built-in to Mac OS so no third party software needed.
- Can retrieve deleted or corrupted files even from months ago.
Time Machine Limitations
- Requires storage space for backup volume at least equal to data size.
- Only keeps limited snapshots before deleting oldest ones.
- Only works for restoring files on the same system being backed up.
- Less flexibility for cross-system or remote file recovery.
- No options for application-level or image-based backups.
Recover deleted files with data recovery software
If the file you need can’t be recovered using Time Machine or the Mac trash, your next step is to use a dedicated data recovery tool. These apps are designed to scan your hard drive and storage devices to find files that have been deleted or lost even months or years ago. Some top data recovery software options for Mac include:
| Software | Key Features |
|---|---|
| Disk Drill | Powerful scanning modes, fast unified Mac interface, recover from internal or external drives, free preview of found files. |
| Data Rescue | Deep scanning capability, easy to use for beginners, retrieves files from damaged drives, risk-free scanning won’t modify data. |
| R-Studio | Wide array of recovery tools for any situation, recovers formatted or deleted partitions, supports Mac, Windows, and Linux. |
| Photorec | Open source with excellent file carving, recovers when file system is corrupted or reformatted, works on any OS. |
The specific recovery process varies by tool but generally involves a few key steps:
- Select the drive or device to scan for recoverable data.
- Choose a scan type – typically “Deleted File Recovery”.
- Allow the scan to run. This can take hours for large drives.
- Preview and identify the files you want to recover.
- Select a safe storage destination and recover the deleted files.
The best recovery results come from using a tool soon after deletion before files are overwritten. But advanced tools can find surprising amounts of lost data months or years later by scanning disk free space.
Try system restore or previous versions
If you are trying to recover a lost file on a Windows PC, some alternatives to data recovery software are using system restore points or previous file versions to roll back to a state before the file was deleted. Here is how these options work:
System Restore
System Restore is a built-in tool in Windows that creates restore points – snapshots of the system’s state including the registry and other critical system files. You can roll back to a restore point to undo system changes and recover lost files. To use System Restore:
- Search for “System Restore” in the Start menu and choose Create a restore point or Configure System Restore.
- Click System Restore, select Choose a different restore point, and Next.
- Select a restore point before the file was deleted, click Next, then Finish to confirm.
- Reboot the computer – this will revert the system to the selected restore point.
- Check if the lost file has been recovered in its original location.
Previous Versions
Microsoft Windows also has a Previous Versions feature that can recover older copies of files. It works similarly to Apple’s Time Machine:
- Locate the lost file in File Explorer and right click.
- Choose Properties > Previous Versions tab.
- Select a previous version before the file was deleted.
- Click Restore to recover the file.
The key drawback of these Windows tools is limited historical snapshots. But they can provide an easy option to quickly restore a recently deleted file.
Prevent accidental file replacement
While there are several good options to try recovering a replaced file, prevention is always the best approach. Here are some tips to avoid accidentally overwriting important files on either Mac or Windows:
- Enable automatic backups, like Time Machine or File History, to easily restore previous versions.
- Save duplicates before making changes, such as Save As instead of Save.
- Store important files in clearly named folders to avoid mix-ups.
- Pay close attention to overwrite warnings from your operating system.
- Use Version Control systems for code files to track all changes.
- Carefully check that you are opening the correct file before making changes.
- Avoid bulk search and replace across folders to prevent global overwrites.
Saving backups, extra copies, and being cautious when working with files will go a long way toward preventing unfortunate mistakes. But if something does still get unintentionally overwritten, use the file recovery options outlined here as a backup plan.
Conclusion
Replacing an important file and losing data can be incredibly frustrating. But fortunately on both Mac and Windows platforms, you have some built-in options to recover or restore the original file. For recently replaced files, first check Time Machine or the Trash on Mac, or System Restore and Previous Versions on Windows. If those don’t work, turn to data recovery software to scan for and retrieve the lost file. Prevention is also key – make and keep backups of critical data so you always have another copy.
With some diligence about performing backups and carefully handling your files, you can minimize the chances of having to recover from accidental overwrites. But it’s good to know recovery options exist just in case. Be sure to move quickly if you do need to restore a replaced file, before the original is overwritten. And try data recovery software for the best results retrieving older lost files. With the right tools and knowledge, you can minimize both the risk of losing data and the headache of recovering from accidental file replacements.