Quick Answers
Here are some quick answers to common questions about fixing a wet phone that won’t charge:
Why won’t my phone charge after getting wet?
Water can damage the charging port and internal components of a phone, preventing it from charging properly. Water causes corrosion and shorts out the electronic circuits.
How can I fix a wet phone that won’t charge?
First, dry out the phone thoroughly. Then, clean out the charging port with compressed air or isopropyl alcohol. If that doesn’t work, disassemble the phone and clean or replace any corroded components or connections.
Is it safe to charge a wet phone?
No, do not try to charge a wet phone. Charging creates current which can further damage the electronics if they are still wet. The phone must be completely dry before attempting to charge it.
Should I take apart my phone after water damage?
Taking apart the phone to clean and dry internal components can help fix a wet phone. However, only attempt this if you are experienced with electronics repair. Incorrect disassembly can damage the phone further.
Can rice help dry out and fix a wet phone?
Placing the phone in a bowl of uncooked rice may help absorb moisture. However, rice is not a guaranteed method. It’s important to also use other drying techniques.
Assessing the Water Damage
If your phone has been exposed to moisture, whether through accidental water damage or intentional submersion, the first step is to assess the extent of the water exposure.
Start by checking if the phone still turns on and functions normally. Test basic features like making calls, sending texts, using apps, and checking if the charging port is still responsive. If the phone won’t turn on at all, won’t charge, or shows other problems like screen glitches, you are likely dealing with significant water damage.
Check the LDI (liquid damage indicator) which is usually a small sticker inside the SIM card slot. A red or pink color on the sticker means water has reached the interior of the phone.
Thoroughly inspect the charging port and headphone jack for any trapped moisture, corrosion, or damage. Use a flashlight to look closely for issues. Try plugging in a charger to check if it fits properly without resistance or looseness.
Determine how long the phone was exposed to moisture. The longer the exposure, the more likely serious damage has occurred. Even brief submersion in water can allow liquid to reach delicate electronic components.
Identifying the extent of the water damage right away will dictate the steps needed for fixing your malfunctioning wet phone.
Drying Out Your Wet Phone Thoroughly
It is crucial to fully dry out a water damaged phone before trying to power it on or charge it. Any lingering moisture can short circuit components and cause further problems.
Remove SIM and Memory Cards
Take out the SIM card, SD card, and any other removable components. Gently wipe them dry with a clean lint-free cloth and allow them to air dry fully before reinserting them.
Do Not Use Heat to Dry
Avoid using any direct heat like blow dryers or heat guns to dry out your phone. The intense heat can damage phone components and melt plastics.
Absorb Excess Moisture
Use a microfiber cloth, towel, or paper towels to gently dab or wipe away any pooled or excess water on the surface of the phone. Carefully wipe out the charging port, headphone jack, and other openings.
Dry Rice Method
Place the phone in a sealable bag or container with several cups of instant uncooked rice. The rice will act as a desiccant and slowly draw out moisture from the phone. Replenish the rice every few hours to maximize moisture absorption. This drying process can take 24-48 hours or longer.
Silica Gel Packets
Silica gel packs work better than rice to absorb moisture. Bury the phone in a box or bag with several silica gel packs. Like rice, the drying time will likely take a day or two.
Isopropyl Alcohol Immersion
Submerging the phone in 90%+ isopropyl alcohol can help rapidly displace water. Safely rinse and immerse the phone for 30-60 min, then let air dry for several hours. The alcohol will evaporate significantly faster than water.
Air Drying
Allow the phone to thoroughly air dry by leaving it exposed in a dry environment for at least 24-48 hours. Use a fan to facilitate evaporation but avoid direct heat. Check for any remaining moisture under crevices or the screen.
Cleaning and Removing Corrosion
Once sufficiently dried, inspect the phone again for any corrosion or mineral deposits left by the water. Address these issues before attempting to power on the device.
Clean Charging Port
Use a toothpick, wooden or plastic pick, or needle to gently scrape out any dirt, debris or corrosion built up in the charging port. Be very careful not to damage the pins.
Next use compressed air to spray out any loose particles. Finish by using a cotton swab dipped in isopropyl alcohol to remove any remaining deposits in the port.
Clean Headphone Jack
Check the headphone jack as well for any obstructions or corrosion. Carefully scrape and pick out any dirt or debris. Use compressed air then finish with an alcohol-soaked swab to clean the jack completely.
Open Phone to Clean and Inspect Internals
For moderate to severe water damage, it is often necessary to open up the phone to clean internal components. Be very careful when disassembling the phone, following a guide specific to your phone model. Use isopropyl alcohol and soft brushes to gently clean the logic board, connectors, battery connectors, and any corroded areas.
Inspect for any swollen or ruptured components like batteries or corroded pins on chipsets. These may need replacement. Allow all internal parts to fully dry before reassembling.
Replace Internal Components if Needed
If internal phone parts like charging ports, microphones, or antennas got damaged by water, they made need replacement. Determine which components are faulty and order genuine replacement parts online. Carefully install the new parts.
Trying to Charge Your Phone
Once confident the phone is fully dried out and cleaned, the next step is attempting to charge it to see if it works.
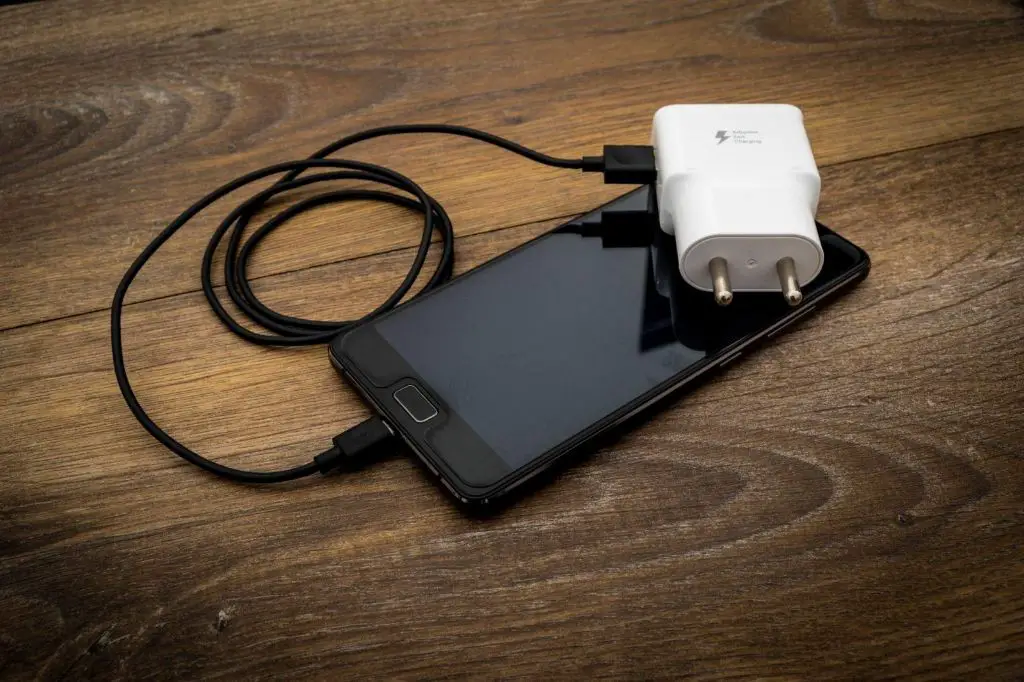
Use Official Charger
It’s important to use the phone’s official OEM charger. Third party chargers may not provide sufficient power to charge a water damaged phone that may have reduced charging capabilities.
Plug In Charger Securely
With the phone turned off, plug the charging cable securely into the charging port. Ensure it is seated tightly. Attempt charging for at least 30 minutes up to a full hour.
Check for Charging Indicators
If the phone shows any signs of life like illuminating the charging indicator light or displaying the battery icon, those are good signs that charging is working. If no indicators are displayed, charging may be malfunctioning.
Turn Phone On While Plugged In
Try turning the phone on while connected to the charger. If the phone powers back on, you know the battery is receiving charge. However, if the phone remains unresponsive, there is likely still moisture or damage preventing charging.
Replace Battery if Needed
If the phone won’t hold charge even after cleaning and drying, the battery itself may need replacement. Batteries can suffer permanent damage if they got very wet. Replace the battery with a high quality battery from a reputable supplier.
Further Troubleshooting Tips
If you cleaned and dried the phone thoroughly but it still fails to charge or turn on, there are some additional troubleshooting methods to try.
- Try alternative charging methods like wireless charging or charging via USB data connection to a computer.
- For phones with removable batteries, test charging with a spare compatible battery.
- Inspect pins on charging dock connector for any damage or corrosion.
- Check charging settings, battery usage, and notification light in device settings.
- Update firmware and OS in case charging issues stem from buggy software.
- Reset device to factory defaults to see if software issue was causing problems.
If no amount of cleaning, drying, part replacement or software troubleshooting succeeds in making the phone charge again, the main logic board where the charging circuits reside may have suffered irreparable water damage.
When to Seek Repair Shop Assistance
While many cases of wet phones not charging can be DIY repaired with sufficient drying, cleaning, and replacement of damaged ports or batteries, some situations require professional microsoldering repair:
- corrosion on logic board that won’t clean
- shorted electronic components
- cracked solder joints needing reballing
- fried voltage regulation circuits
Seek out a reputable electronics repair shop experienced in microsoldering and board-level repairs. They can properly diagnose the issue and reliably solder replace any damaged charging components.
Liquid damage that reaches interior electronics can cause complicated, multi-faceted issues. Microsoldering is able to reliably fix problems by safely restoring damaged traces, pins, and joints on the logic board that are impossible to properly repair with DIY methods.
Preventing Water Damage to Phones
While accidents happen, you can take proactive steps to help safeguard your phone from water damage in the future:
- Use a waterproof phone case when going near water.
- Avoid charging phone near sinks or liquids.
- Never use a wet charger or cord.
- Keep phone away from humidifiers.
- Take extra care not to spill liquids near phone.
- Store phone safely away from sprinklers.
- Turn phone off and remove battery before exposing to liquids.
- Consider water-resistant phones for accident prone lifestyles.
Conclusion
Wet phones that won’t charge can often be revived with proper drying techniques, cleaning of ports and connectors, replacement of any damaged parts, and microsoldering repairs when needed. The key is to fully dry out the phone before attempting to power it on, thoroughly cleaning any corrosion, and safely troubleshooting charging issues.
Carefully follow the steps outlined for assessing water damage, drying the phone, cleaning/replacing components, attempting to charge, and seeking professional repairs when needed. With patience and proper technique, there is a good chance your wet phone can be fixed and restored back to normal charging operation.
