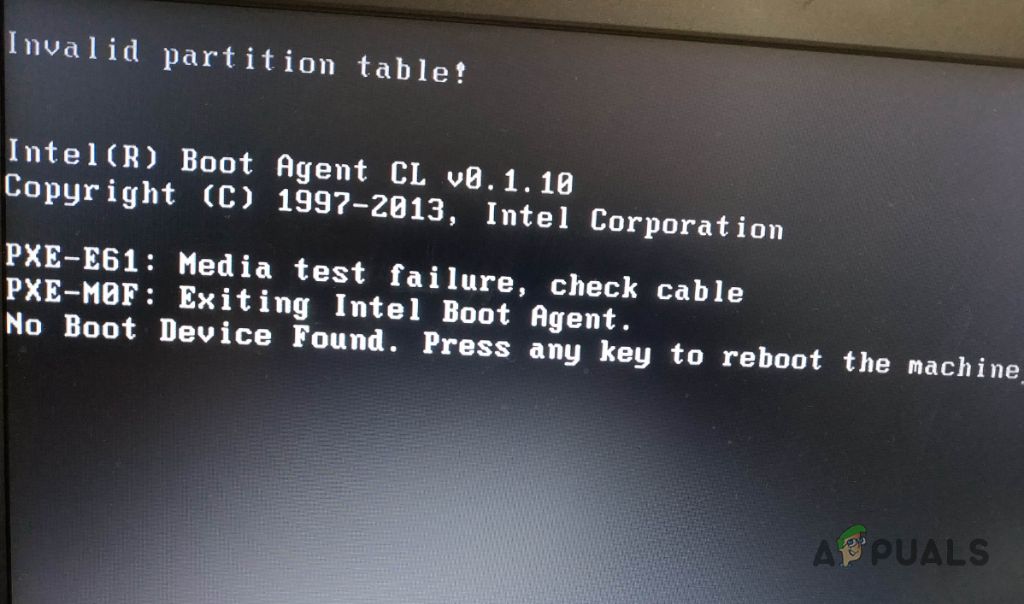
When trying to boot from a USB drive, you may encounter the error “Invalid partition table” or “No bootable device found”. This usually means that the USB drive is not properly set up as a bootable device. Here are some common reasons why you get this error and how to fix it:
The USB was not made bootable
For a USB drive to be bootable, it needs to contain an operating system installer or a bootloader like GRUB. Simply copying files to the USB drive does not make it bootable.
To properly create a bootable USB, you need to use a tool designed for this purpose like Rufus on Windows or Startup Disk Creator on Linux. These tools install a bootloader and mark the USB drive as bootable so that your PC recognizes it as a startup device.
If you did not use a tool to make your USB drive bootable, go back and recreate the installer USB using the proper method. This should allow your PC to detect the drive as a valid boot device.
Boot order not set correctly in BIOS
After making a bootable USB drive, you also need to configure your PC’s BIOS or UEFI firmware to boot from the USB first. The motherboard boot order decides which devices get boot priority.
If your BIOS is set to boot from the hard drive first, it will never look for boot files on the USB drive. You’ll need to enter the BIOS settings (typically by pressing F2, F10 or Delete during startup) and move Removable Devices, USB or your USB drive name to the top of the boot order list.
This makes your PC check the USB drive before the internal hard drive for any bootloaders. Then it will recognize the USB as a valid boot device and start the operating system installer.
USB made incorrectly for UEFI or BIOS mode
Motherboards use either Legacy BIOS or modern UEFI firmware. And the bootable USB needs to be made specifically for that mode or it will show “Invalid partition table”.
For example, if your system uses UEFI but the bootable USB was created for BIOS, it will not work. Rufus and other tools allow you to choose between MBR for BIOS or GPT for UEFI when making the installer drive.
If you get the invalid partition error, recreate the bootable USB choosing the right partition scheme for your PC’s firmware. Match the USB to UEFI or BIOS mode as needed. This compatibility issue is often overlooked.
Damaged or corrupted files on the USB drive
Sometimes the boot files or operating system installer itself has errors or corruption. This can happen if the USB was created improperly or the files were damaged afterwards. When this occurs, the PC cannot read the invalid boot files causing the “Invalid partition table” error.
Try reformatting the USB drive and creating the bootable installer again from scratch. Download a fresh copy of the ISO file if needed. Verify the integrity of the installer ISO through checksums before using it. Also scan the USB drive for defects. This will rule out any corrupted data on the drive.
USB hardware issues
On rare occasions, the USB drive itself may have hardware issues causing boot problems. A damaged storage device, connection problems or compatibility issues can lead to the drive not being detected properly at boot.
If you get the invalid partition error, try these steps:
– Test the USB drive on another PC and see if it boots
– Try a different USB port on your PC
– Check if the USB shows up properly in the BIOS
– Attempt booting with a different USB drive
This can help determine if the problem is caused by a specific USB port, incompatibility with your PC hardware or a defective drive. Replace the USB stick if you suspect hardware issues.
Fixing BIOS/UEFI configuration issues
If your bootable USB drive was created correctly but your PC’s firmware is misconfigured, you will see the “Invalid partition table” error. Here is how to fix two common BIOS/UEFI configuration problems:
Enable Boot from Removable Devices
Some BIOS have boot options to control which devices are allowed to boot the system. If “Boot from Removable Devices” or “USB Boot” is disabled, it will skip USB drives even if they are set first in the boot order.
Go into your BIOS and check under Boot Options for settings like “USB Boot”, “Boot from USB” or “Removable Drive Boot”. Make sure this is enabled so the BIOS attempts to boot from the USB drive.
Disable Fast Boot
Fast boot is a BIOS option that skips some steps during POST to load the operating system quickly. However, this means boot devices may not be initialized properly.
Disabling fast boot allows more time for detecting connected drives like your USB stick. Enter the BIOS and disable the fast boot or quick boot setting. Also disable ultra-fast boot if there is an option.
Save changes and restart. This slower POST will allow properly detecting the bootable USB drive.
Creating a UEFI compatible USB installer
If your PC uses UEFI firmware but your bootable USB is only compatible with BIOS, you will get the invalid partition table error. Here is how to create a UEFI compatible USB installer:
On Windows
– Use Rufus to burn the ISO image to the USB drive.
– In Rufus, select GPT partition scheme for UEFI from the dropdown menu.
– Leave the Target System as UEFI (non CSM).
– Hit Start to make your UEFI bootable USB drive.
On Linux
– Use the Startup Disk Creator tool to write the ISO to USB.
– Click the cog icon in bottom left when selecting the ISO.
– In the popup menu, choose Master Boot Record for Legacy BIOS or GUID Partition Table for UEFI systems.
– Write the ISO using the correct option for your firmware. You’ll get a UEFI compatible USB.
On Mac
– Insert the USB drive and launch Disk Utility.
– Select the drive and click Erase.
– Choose GUID Partition Map scheme and Mac OS Extended format.
– Hit Erase to reformat as GPT. This configures it for UEFI.
– Now use dd or Etcher to flash the ISO onto the USB drive.
Following these steps when writing your operating system installer ISO to the USB drive will properly create a UEFI bootable disk.
Making a Legacy BIOS bootable USB
If your computer uses Legacy BIOS and you need to create a BIOS-compatible bootable USB drive, follow these steps:
On Windows
– Use Rufus to write the ISO.
– In Rufus, select MBR partition scheme for BIOS or UEFI-CSM from the dropdown menu.
– Leave Target System as BIOS (CSM).
– Click Start. This will create a properly formatted BIOS bootable USB.
On Linux
– Use Startup Disk Creator to write the ISO to USB.
– Click the settings icon and select Master Boot Record for BIOS systems.
– Write the ISO using this option.
On Mac
– Format the USB drive as MS-DOS (FAT) using Disk Utility.
– Use dd or Etcher to flash the ISO directly to the drive.
– This preserves MBR partitioning needed for BIOS compatibility.
The key is ensuring the USB drive is formatted with an MBR partition scheme rather than GPT. This configures it for Legacy BIOS systems.
How to fix a damaged USB bootloader
If your USB drive’s bootloader is corrupted or damaged, you’ll see the invalid partition table error. Follow these steps to fix a damaged bootloader:
1. Back up any data
Before making changes, copy any important files or data you need from the USB drive to another device or cloud storage. The following steps will erase the drive.
2. Reformat using diskpart (Windows)
– Open the Command Prompt as Administrator.
– Type diskpart and press Enter.
– In diskpart, list disks and identify your USB drive’s disk number.
– Select the USB drive disk using: SELECT DISK X (replace X with its disk number)
– Run CLEAN to erase all partitions and format the disk.
– Exit diskpart.
This completely re-initializes your flash drive, fixing any bootloader issues.
3. Create new bootable media
Use the bootable USB creation method for your operating system (such as Rufus on Windows or Startup Disk Creator on Linux) to recreate your boot media. Write the installer ISO again to the reformatted USB drive.
The boot files and bootloader will now be rewritten, replacing any damaged components.
4. Try booting again
With a freshly created bootloader and partitions, your USB drive should now boot properly without any partition errors.
Making a bootable USB via Command Prompt
You can create a Windows bootable installation USB entirely from Command Prompt using tools like diskpart and bootsect. Here are the steps:
1. Insert your USB drive
Plug in the flash drive (minimum 4GB) into a Windows PC that you’ll use to make the installer disk.
2. Open Command Prompt as Administrator
Search for cmd, right-click it and select Run as Administrator. This opens an elevated Command Prompt window.
3. Find your USB drive letter
Type diskpart and press Enter. Run list disk to show connected drives. Identify your USB drive’s disk number.
4. Select the USB disk
Use select disk X where X is your flash drive’s disk number. This selects it for the next operations.
5. Clean the disk
Run clean to erase all existing partitions and format the USB disk.
6. Create primary partition
Use create partition primary to create a new primary partition on the cleared USB drive.
7. Mark partition as active
Type active to set the new partition as active. This makes it bootable.
8. Format volume
Format the partition using NTFS:
format fs=ntfs quick
9. Assign drive letter
Give the volume a drive letter like Z:
assign letter=Z
10. Write boot files
Finally, write the system boot files to the USB:
\Windows\System32\bootsect.exe Z: /nt60
This completes the steps to create a bootable USB drive from Command Prompt.
Conclusion
The “invalid partition table” error when trying to boot from a USB drive is typically caused by an issue with making the drive bootable, UEFI/BIOS configuration or hardware defects. Following the appropriate steps to correctly prepare your installer USB for your PC’s firmware, configuring your motherboard to boot external devices and checking for hardware faults in the drive will help resolve the problem. Recreating your boot media from scratch is often required. With a properly made bootloader on a functional USB drive and the correct boot order set in BIOS, your system will successfully recognize and boot from the USB device.
